Homeland Insecurity
Posted by on November 26, 2023.
Last updated by on November 26, 2023.
Mission Description
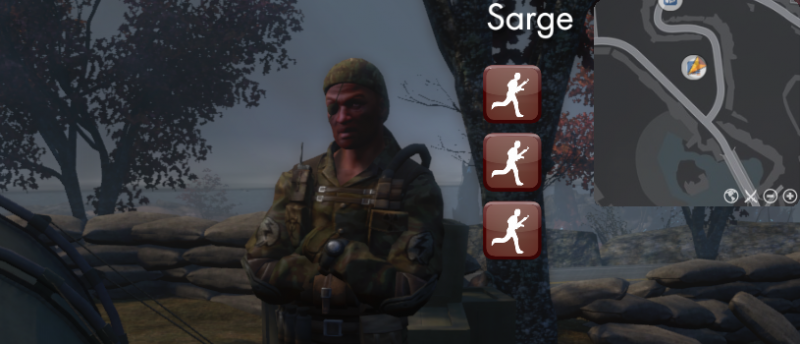
Karen Olson and Sarge share one thing: a common goal. Military and bureaucratic methods of problem solving don't always go hand in hand, however, and they can't seem to agree on how to proceed. Nevertheless, human lives are at stake and damage control is important to both parties.
Tier 1
Task Description
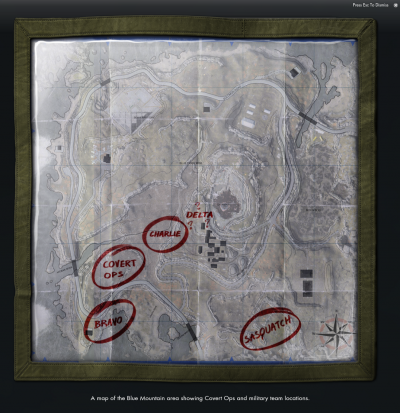
Sarge has dispatched three of his most experienced teams, but they are undermanned and possibly besieged. Study the tactical map to learn their locations and do what you can to help them.
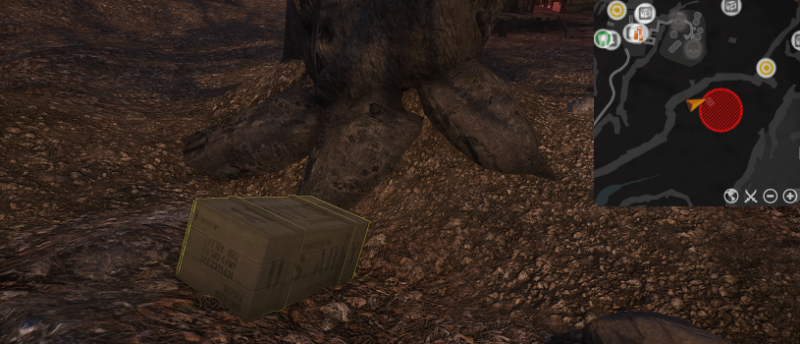
Objective: Examine the tactical map
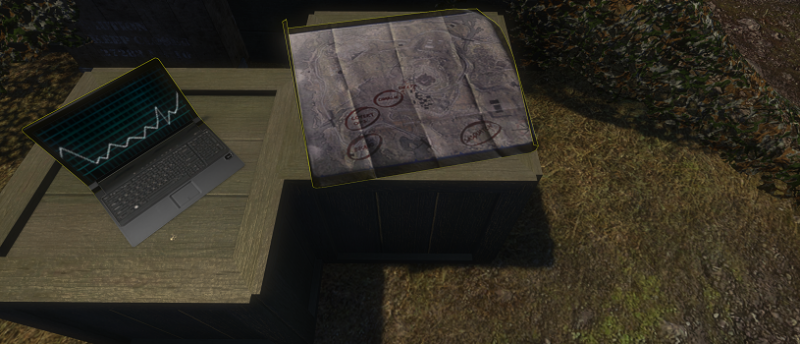
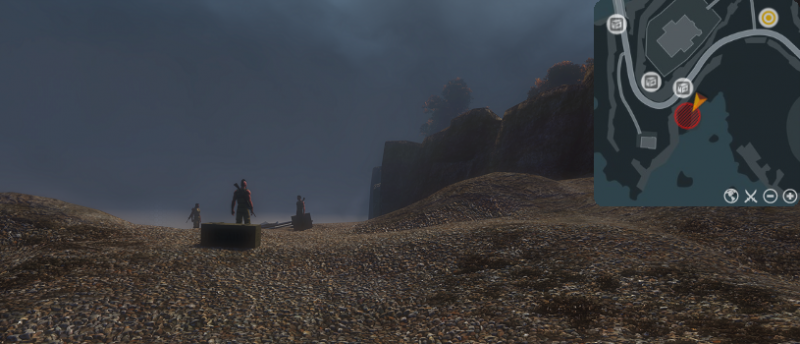
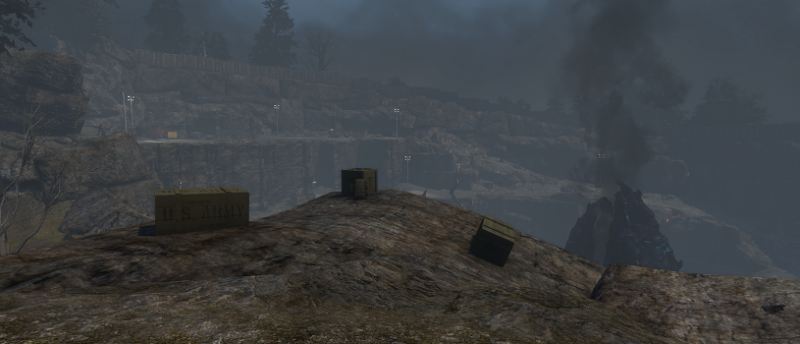
Inspect the tactical map (440,225) on a crate next to Karen Olsen and the military laptop.
Objective: Find Fireteam Bravo
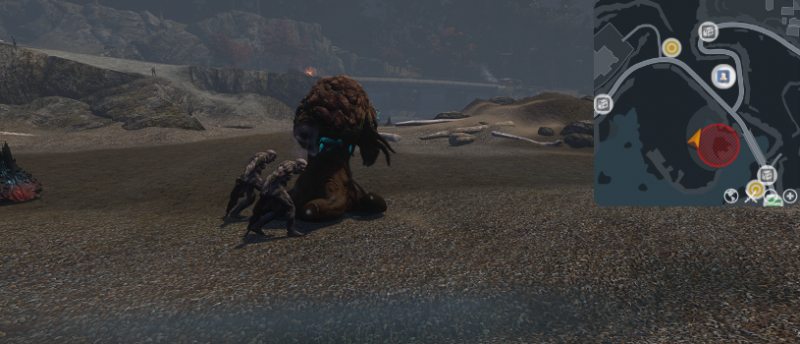
Fireteam Bravo was stationed south of the abandoned asylum by Kraken Point (250,140) as marked on the tactical map.
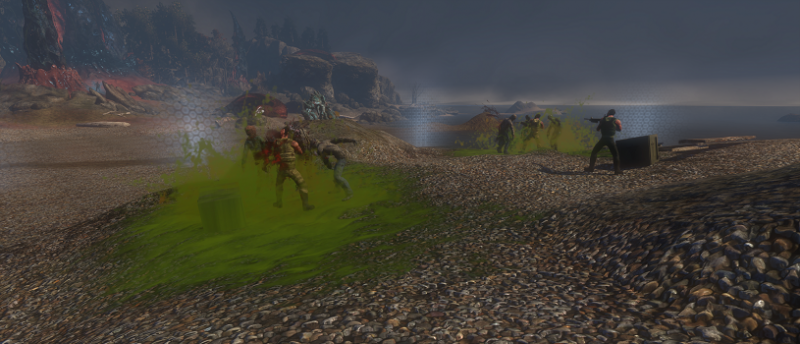
Objective: Defend Fireteam Bravo's location
Fireteam Bravo is under assault! Defend Fireteam Bravo from all advancing draug forces for 4 total waves of draug: one wave of 3 Draugslave, one wave of 4 Draugslave, one wave of 4 Dreyrugr Charger, and finally one wave of 1 Dreyrugr Slaver.
There is no time limit for this assault. The assault will end only when the waves have all been successfully defeated or when failed due to the death of Fireteam Bravo or by leaving the mission area for longer than 10 seconds.
Fireteam Bravo
"Everybody, fall in!"
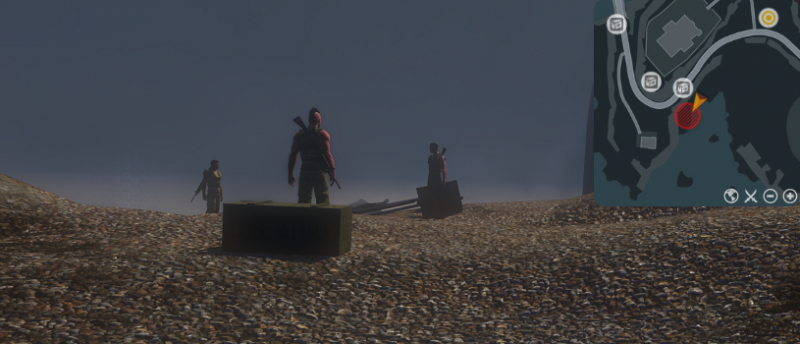
Defeat the Dreyrugr Slaver and all lingering Draugr threats assaulting Fireteam Bravo.
Tier 1 Fail
Task Description
Sarge has dispatched three of his most experienced teams, but they are undermanned and possibly besieged. Study the tactical map to learn their locations and do what you can to help them.
Fail Objective: Find Fireteam Bravo
Return to Fireteam Bravo (250,140) and be prepared to defend Fireteam Bravo's location again.
Tier 2
Task Description
Fireteam Bravo seems to have things under control. Further ahead, though, a larger threat awaits - the very source of the attacks on their control point. Move forward and deal with it before searching for the next team.
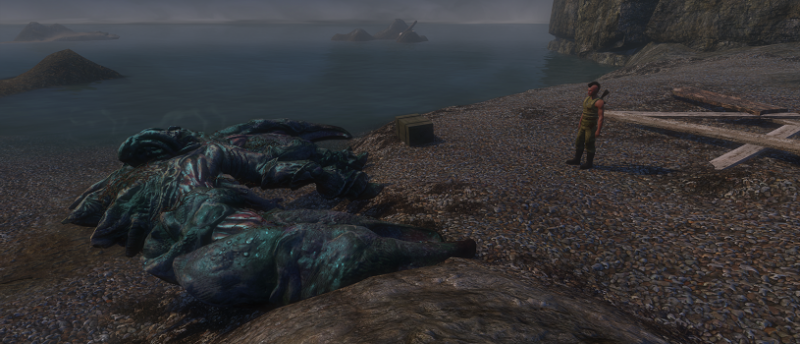
Objective: Move forward and kill the Dreyrugr Lord
Move forwad and advance in the direction Fireteam Bravo is facing: East. Circling the island at the far end of Kraken Cove (440,110) is the Dreyrugr Lord. The Dreyrugr Lord patrols its territory with two Dreyrugr Huskarl guards.
Tier 3
Task Description
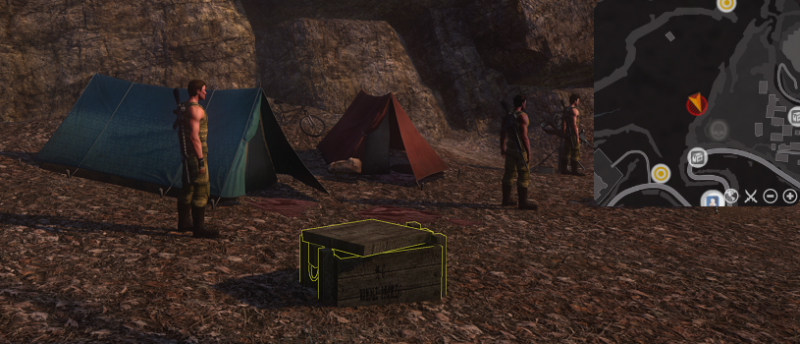
Fireteam Charlie was dispatched to retrieve air-dropped supplies in Ash Forest. Go to their location and assist them as best you can.
Objective: Find Fireteam Charlie
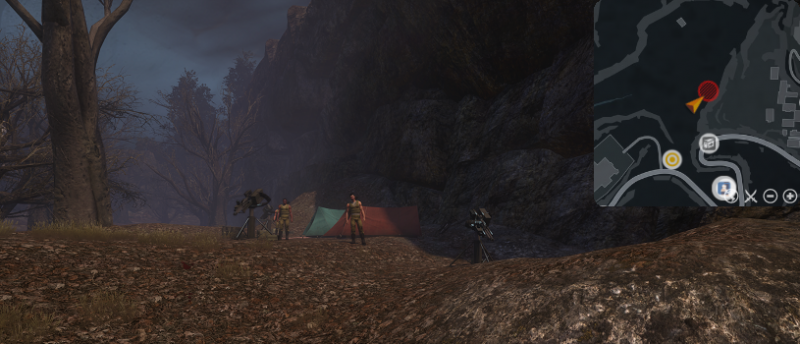
Fireteam Charlie is stationed in the Ash Forest (420,395), as marked on the Tactical Map.
Objective: Gather medical supplies 0/3
Objective: Gather sentry gun spare parts
Fireteam Charlie's supplies are scattered throughout the Ash Forest (390,505). Gather 3 Medical Supply Crates and a single set of sentry gun spare parts.
Gather medical supplies
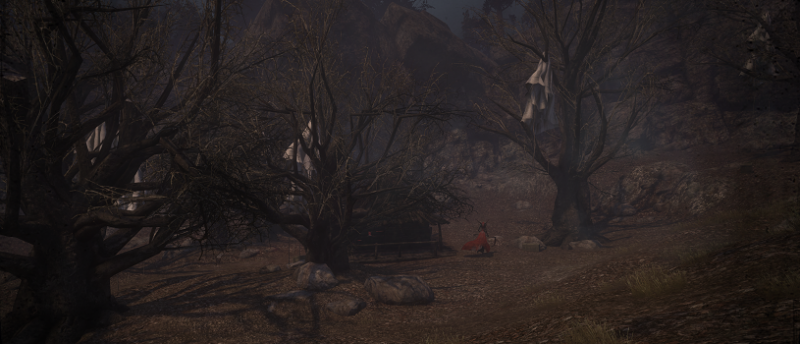
Pick up 3 Medical Supply Crates in the Ash Forest. Parachutes have tangled in the trees of the Ash Forest and the crates have dropped down to the forest floor below. The majority are scattered around a cabin that the Scarlet Conductor patrols. There are 9 total Medical Supply Crates in the entirety of the Ash Forest.
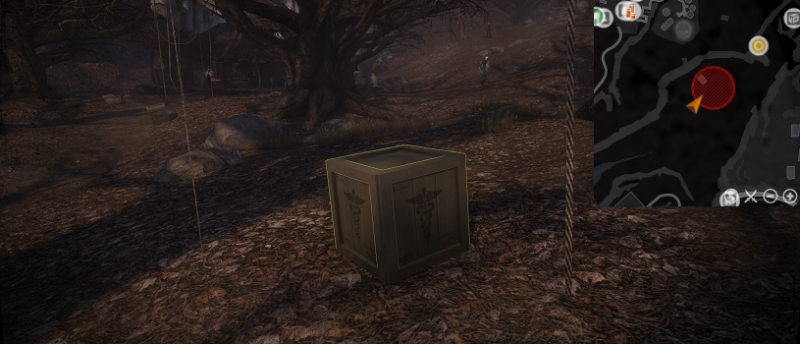
Medical Supply Crates are labeled with the Caduceus on it.
Gather sentry gun spare parts
Use either the Equipment supply crate (385,525) behind the cabin in the Ash Forest or the Equipment supply crate (350,520) by a tree in front of the cabin. In either case, beware the Scarlet Conductor.
Objective: Deliver supplies to Fireteam Charlie
Return to Fireteam Charlie and use the Supply Crate (420,400) in the middle of camp.
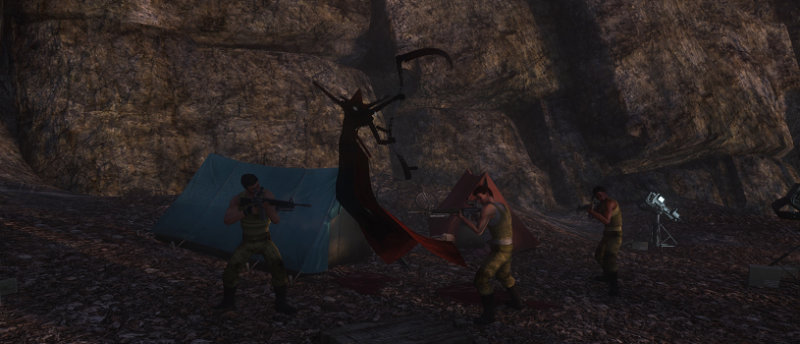
Objective: Defend Fireteam Charlie's location
The spectres around the Ash Forest begin to assault Fireteam Charlie's location in sequential waves: three waves each consisting of 2 Funeral Marcher and 1 Funeral Waltzer followed by one single wave with the Idol of Carnage.
There is no time limit for this assault. The assault will end only when the waves have all been successfully defeated or when failed due to the death of Fireteam Charlie or by leaving the mission area for longer than 10 seconds.
Tier 3 Fail
Task Description
Fireteam Charlie was dispatched to retrieve air-dropped supplies in Ash Forest. Go to their location and assist them as best you can.
Fail Objective: Find Fireteam Charlie
Either through death or desertation, you are not with Fireteam Charlie when they need you most to defend their location. Return to Fireteam Charlie (420,395).

Tier 4
Task Description
Contact with Fireteam Delta was lost a while back. Neither distress signals nor radio signals have come through since. Go to their last known location and find out why they haven't reported in.
Objective: Find Fireteam Delta's last known location
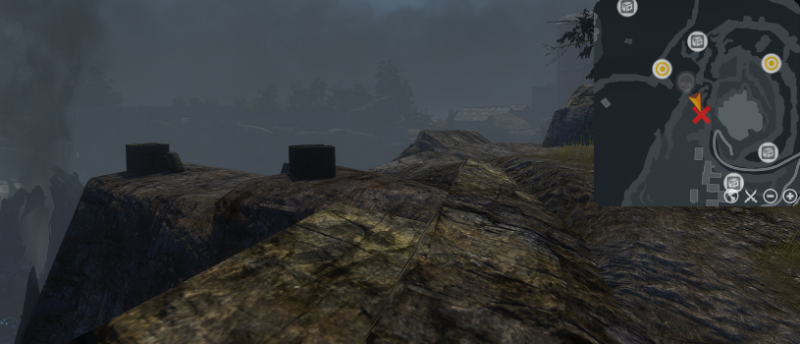
Either approach the cliff of the Quarry (545,500) from behind the abandoned factory or go north up the Ash Forest and cross the small crevice of a pathway before the Blue Ridge Mine (540,550) in order to enter the cliff above the Quarry. Corpses of Fireteam Delta and Draug can be seen along the path.
All that remains at Fireteam Delta's location are their supplies.
Objective: Follow the trail of Draug corpses to try to find Fireteam Delta
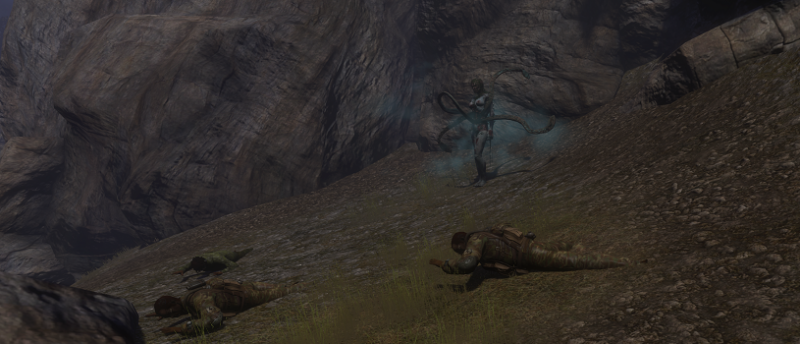
Follow the trail of Draug corpses down the path leading to the Ash Forest. Fireteam Delta's corpses are strewn around a singular Draug: the Henbane (550,550).
Objective: Kill the Henbane to avenge Fireteam Delta
Kill the Henbane. She has 5121 HP and is Level 24. Only through her death will Fireteam Delta be avenged.
The Henbane regularly casts a cone of Ink Spew in front of her, an AoE that damages anyone hit within the cone of ink.
The Henbane tends to the reanimated corpses of Fireteam Delta by casting the Heal Over Time life spell Coiled Protection on either the Delta Leader, Delta Grenadier, or Delta Rifleman throughout the fight. The Coiled Protection heals every 1 second for 8 seconds.
The Henbane regularly casts Vengeful to give herself the Vengeful buff and increase her Hit Rating.
BUG WARNING
The Henbane is supposed to cast "By Thy Scorn, O Murd'ress" and reanimate the Delta Leader, Delta Grenadier, and Delta Rifleman to aid her in combat. Currently, she does not cast this and Fireteam Delta remains motionless. Despite this, she will still cast the Heal Over Time "Coiled Protection" buff on Fireteam Delta.