The Benevolent Conspiracies
Posted by on November 6, 2023.
Last updated by on November 6, 2023.
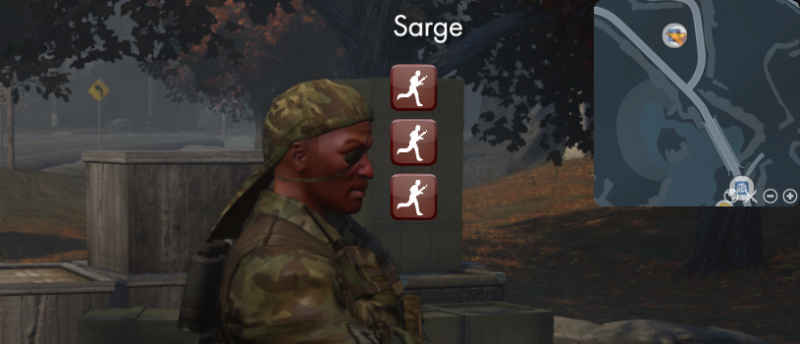
Mission Description: Sarge has marked several top priority targets in the area, and sent out black ops teams to eliminate them. One of the teams has not reported back, which means their mission has likely failed.
Tier 1
Task Description: A black ops team was deployed near the ruins of an old asylum to exterminate a high priority target. Since then, there has been no contact. Learn more about their mission.
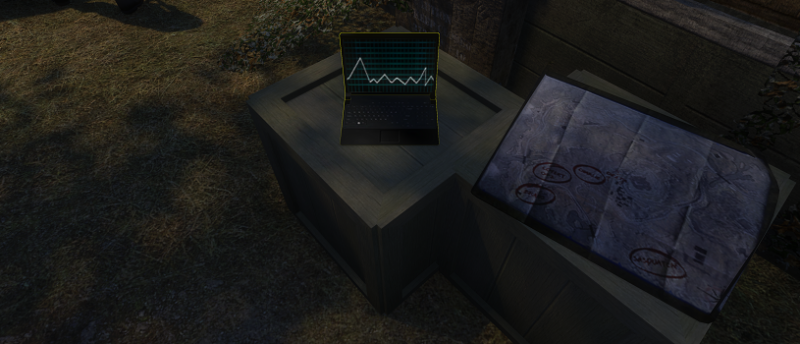
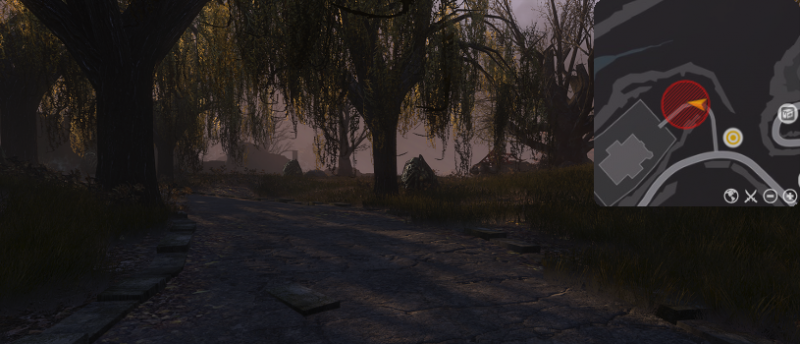
Objective: Examine the tactical map
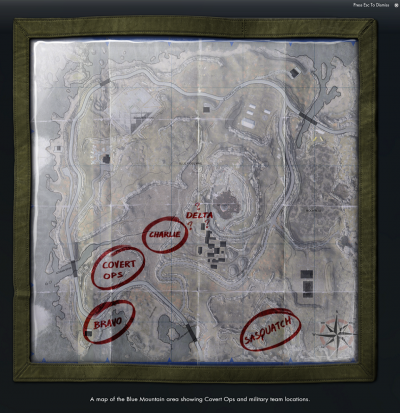
Inspect the tactical map (440,225) on a crate next to Karen Olsen.
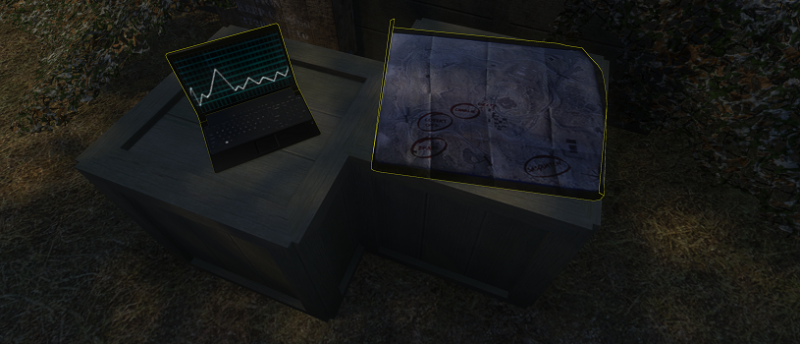
Objective: Examine the laptop for information on "Covert Operations"
Hack into the Military laptop next to the tactical map to enter the D.H.S. Field Operations Terminal.
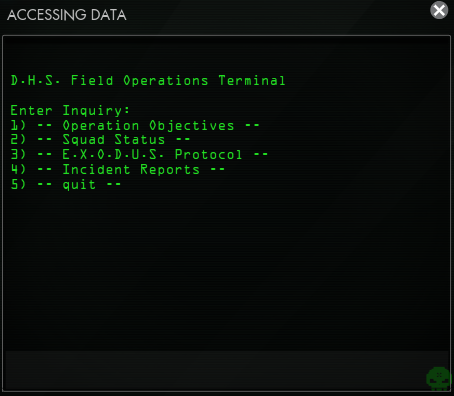
Enter 2) -- Squad Status -- and then enter 2) -- Covert Operations -- to read the report on covert operations.
Objective: Search for the black ops team near the asylum
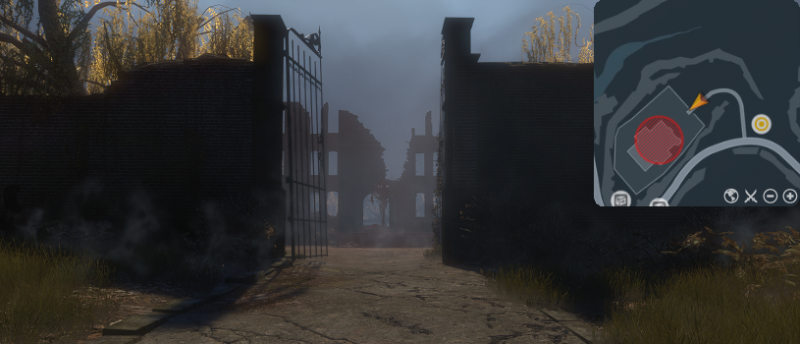
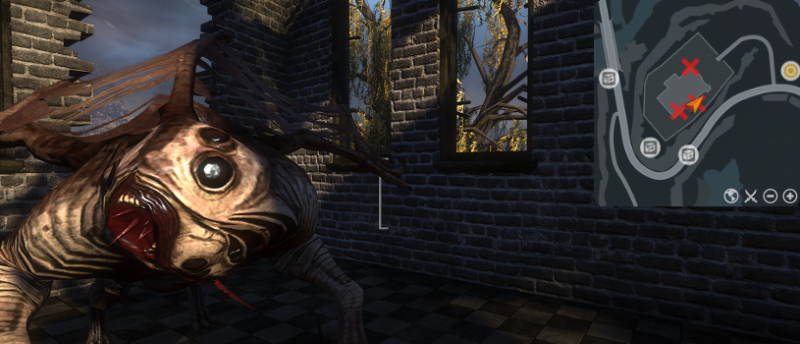
Go up Solomon Road and enter the abandoned Asylum. The iron gate has been wrenched open and ak'ab corpses litter the yard.
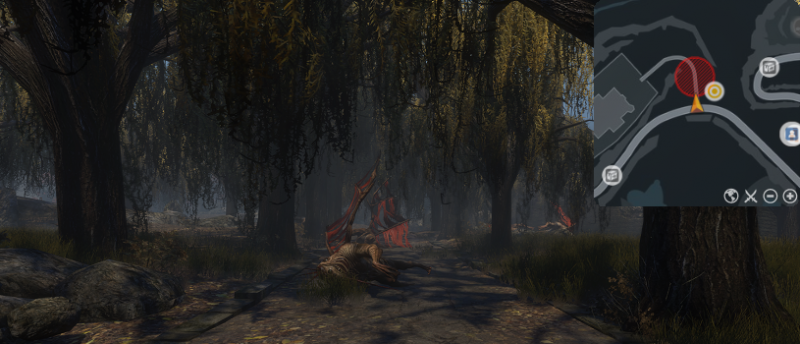
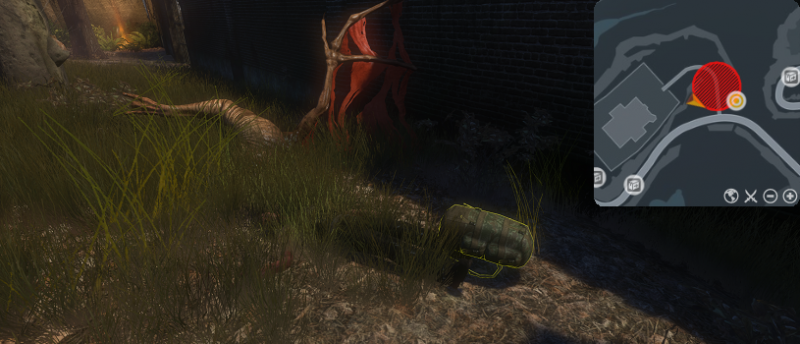
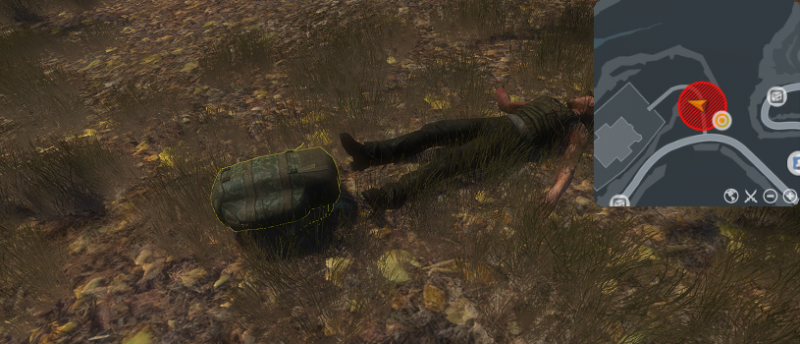
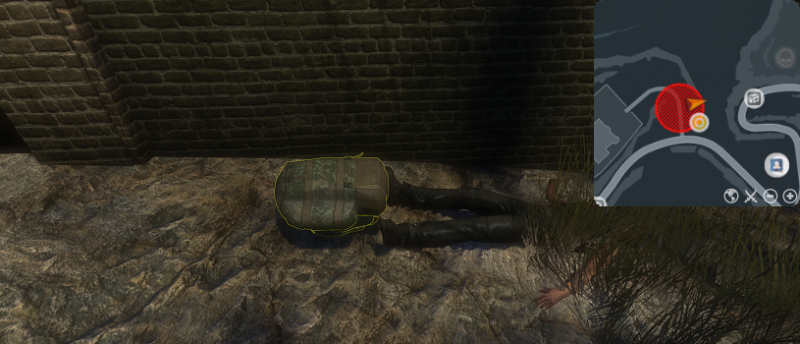
Amidst the destruction are three dead soldiers: one in the middle of the yard next to the path (325,300), one against the Southern wall of the asylum (310,275), and one by the Eastern wall of the asylum (355,300).
These are the corpses of the black ops team.
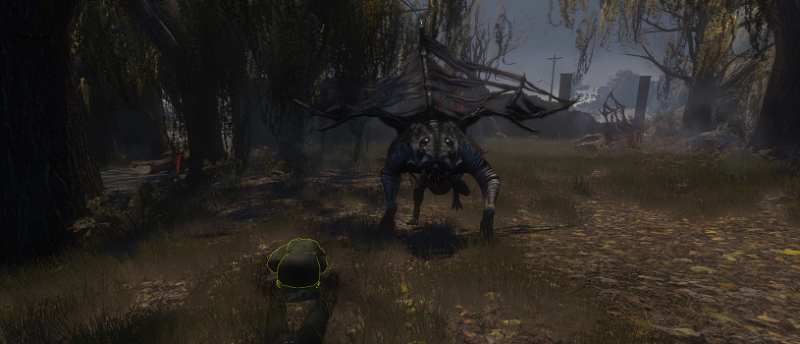
A Penumbral Brood Ambusher does its duty by ambushing as soon as the black ops team is rediscovered. Be prepared for the ak'ab!
Tier 2
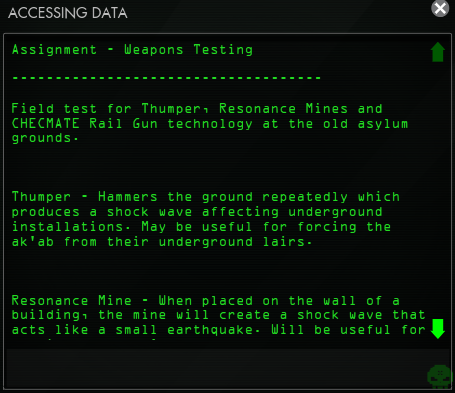
Task Description: The black ops team is dead. No survivors can be found, but their top-grade military equipment is untouched. Collect it from their backpacks and complete the mission the team set out to do.
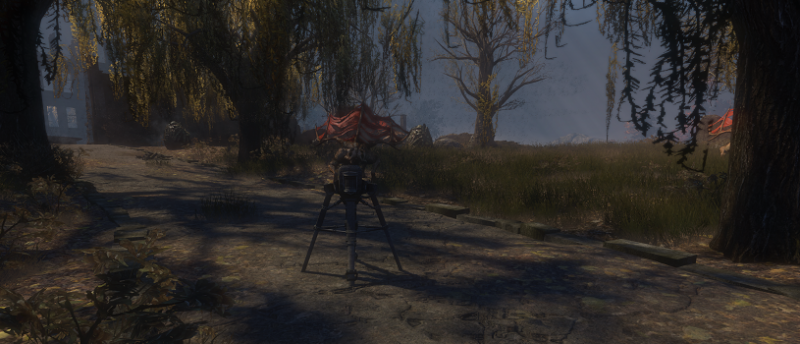
Objective: Recover the Thumper from a backpack
Objective: Recover the resonance mines from a backpack
Objective: Recover the CHECMATE Laser Designator from a backpack
Collect the Thumper, resonance mines, and CHECMTE Laser Designator from the backpacks left behind by the slaughtered black ops team.
Recover the Thumper from a backpack
Take the Thumper (310,275) from the backpack of the soldier slain by the Southern wall of the asylum. This will place the [Military thumper] in your Mission Inventory.
Recover the resonance mines from a backpack
Take the resonance mines (325,300) from the backpack of the soldier slain beside the gravel road in the asylum. This will place the [Resonance mine trigger] in your Mission Inventory.
Recover the CHECMATE Laser Designator from a backpack
Take the CHECMATE (355,300) from the backpack of the soldier slain by the Eastern wall of the asylum near the Anima Well. This will place the [CHECMATE Laser Designator] in your Mission Inventory.
Tier 3
Task Description: With the top-secret equipment in hand, move deeper into the old asylum grounds. Use the Thumper to lure out ak'ab that have burrowed underground.
Objective: Move deeper into the asylum grounds
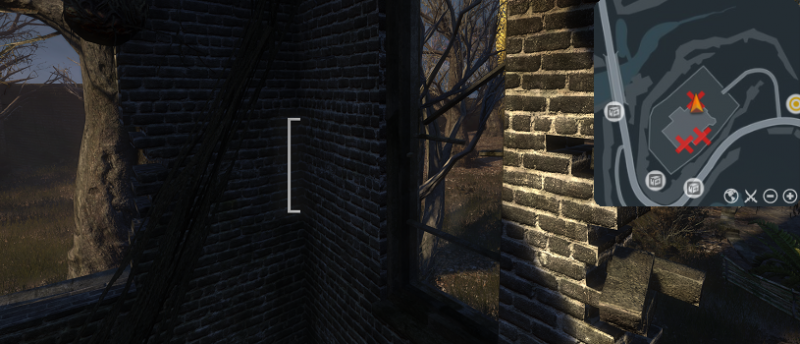
Move farther into the asylum along the path (315,320) where live ak'ab still roam.
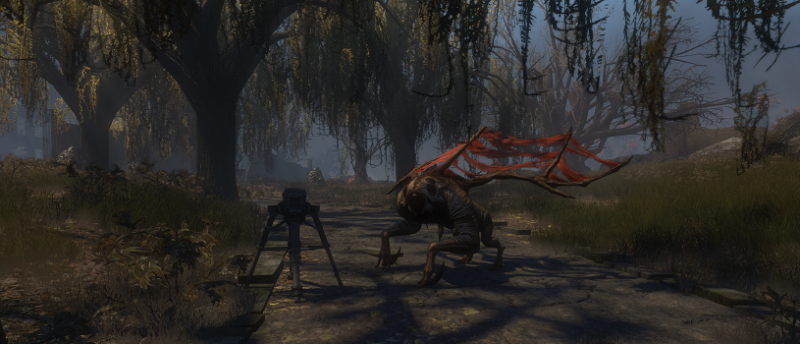
Objective: Try the Thumper
Use the [Military thumper] from within your Mission Inventory or Quick Access Inventory. Be ready: the thumper will lure ak'ab.
Objective: Kill Penumbral Brood Scouts lured by the Thumper
Kill 9 Penumbral Brood Scouts. Penumbral Brood Scouts are lured by the Thumper every 10 seconds. A Penumbral Brood Scout will despawn if not killed within 20 seconds of spawning.
The Thumper is active for 25 seconds when used and will immediately start to lure Penumbral Brood Scouts upon placement. Reuse the Thumper to reactivate it and spawn additional Penumbral Brood Scouts as necessary.
Tier 4
Task Description: Some ak'ab are perched on top of the walls of the old asylum ruins. Use the resonance mines to shake them down. Kill them swiftly once they land on the ground.
Objective: Make your way inside the asylum ruins
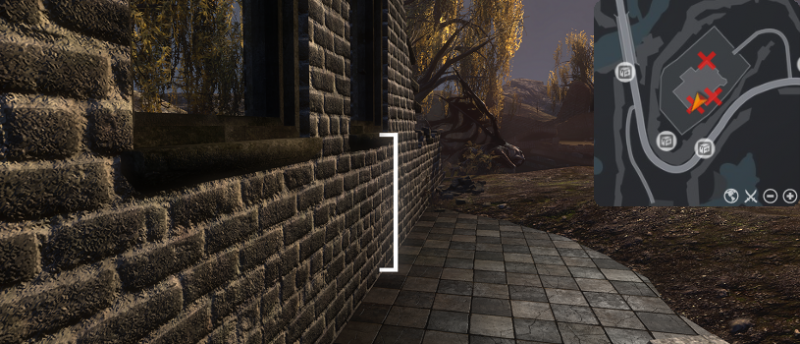
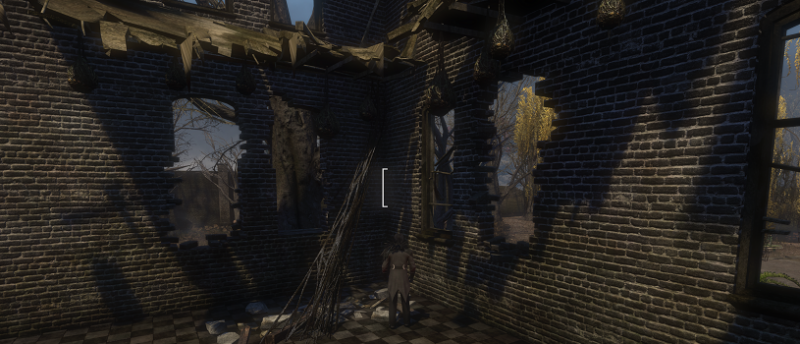
Follow the path to the asylum through its large courtyard and into the ruins (245,270) of the building that once served as the asylum itself.
Tier 4
Task Description: Some ak'ab are perched on top of the walls of the old asylum ruins. Use the resonance mines to shake them down. Kill them swiftly once they land on the ground.
Objective: Place a resonance mine on the east wall
Objective: Place a resonance mine on the north wall
Objective: Place a resonance mine on the south wall
Place resonance mines on the east wall (245,240), north wall (235,280), and south wall (225,230).
Place a resonance mine on the east wall
Place a resonance mine between two windows (245,240) in the back of the east wall
Place a resonance mine on the north wall
Place a resonance mine at the corner of the north wall (235,280) of the asylum.
Place a resonance mine on the south wall
Place a resonance mine between two windows (225,230) at the end of the ruins of the south wall.
Tier 4
Task Description: Some ak'ab are perched on top of the walls of the old asylum ruins. Use the resonance mines to shake them down. Kill them swiftly once they land on the ground.
Objective: Go to the centre of the asylum
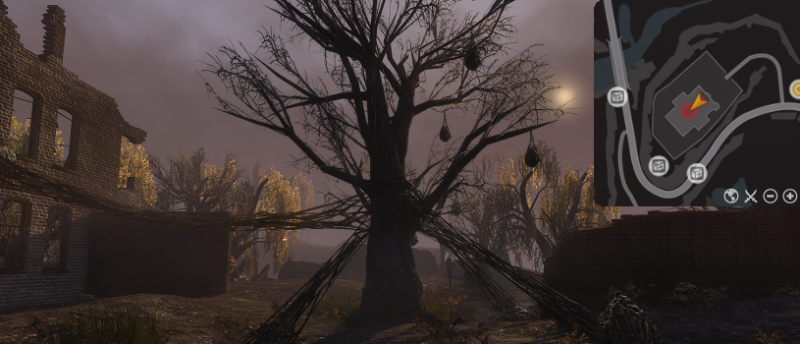
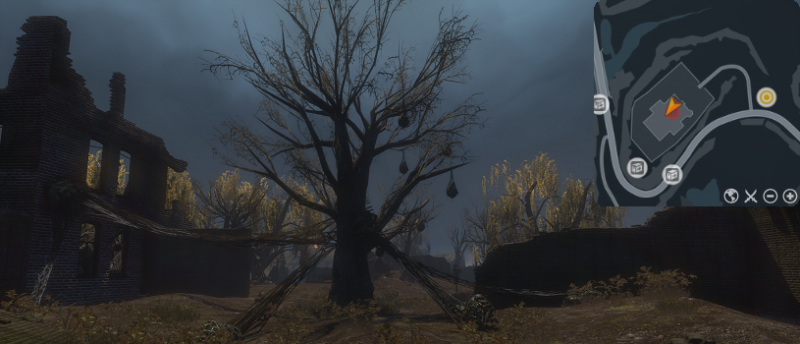
Approach the enormous infested tree (230,255) in the centre of the asylum ruins.
Tier 4
Task Description: Some ak'ab are perched on top of the walls of the old asylum ruins. Use the resonance mines to shake them down. Kill them swiftly once they land on the ground.
Objective: Trigger the mines and defeat the Umbral Swarm
Trigger the mines using the [Resonance mine trigger] while standing in the centre of the asylum ruins a safe distance away from the resonance mines. Triggering the resonance mines will cause Umbral Swarm ak'ab to begin an assault.
The first wave will begin with 1 Umbral Swarm Broodling, soon followed by a second wave consisting of 2 Umbral Swarm Broodlings. The third wave contains 3 Umbral Swarm Broodlings.
After the 6 total Umbral Swarm Broodlings have spawned, the fourth and final wave of Umbral Swarm ak'ab appears: 1 Umbral Swarm Firstborn.
Defeat the Umbral Swarm Firstborn.
Tier 4 Fail
Task Description: Some ak'ab are perched on top of the walls of the old asylum ruins. Use the resonance mines to shake them down. Kill them swiftly once they land on the ground.
Fail Objective: Replace the mine on the north wall
Return to the north wall and place another resonance mine (235,280) in the same spot on the wall as before.
Fail Objective: Go to the centre of the asylum
Return to the centre of the Asylum ruins (230,255). Once at the centre, you will again have the goal to trigger the mines and defeat the Umbral Swarm.
Tier 5
Task Description: Immediately behind the asylum ruins, there is a strange mound and a hole in the ground. Investigate it and destroy whatever might come out of it.
Objective: Explore the mound behind the asylum
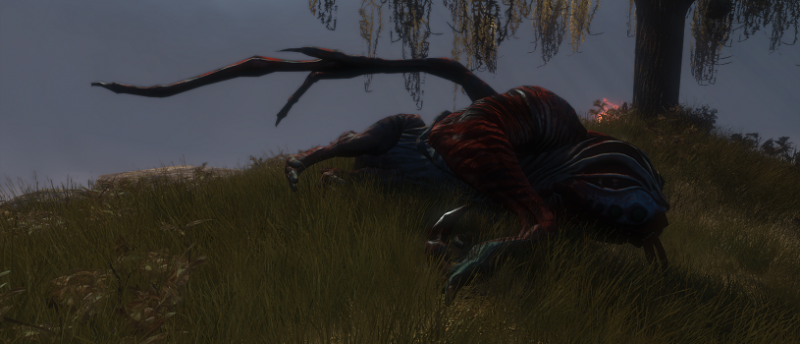
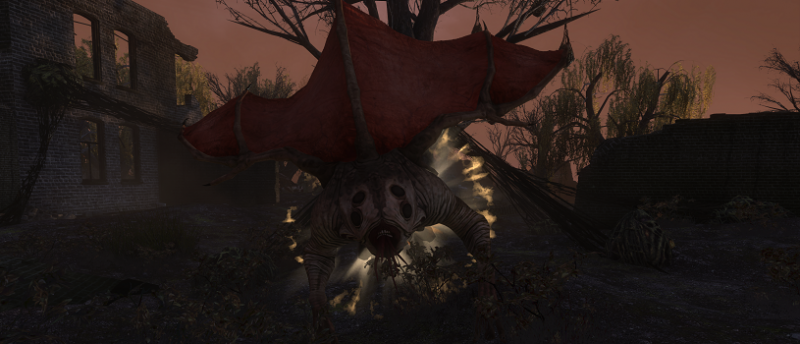
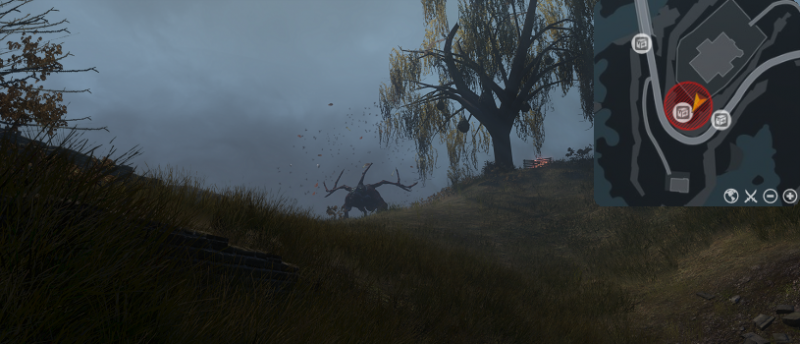
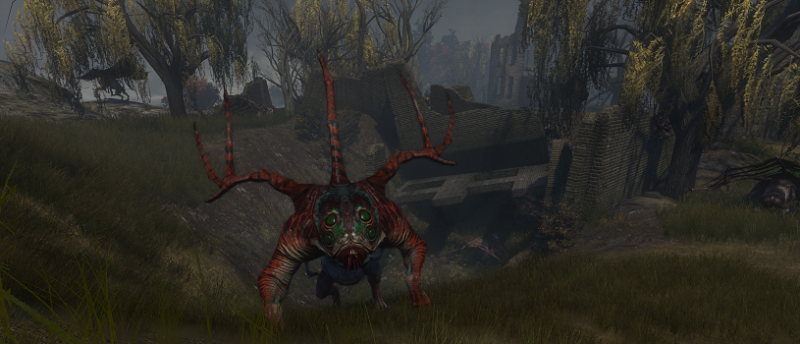
Follow the tunnel through the back of the Asylum ruins, where the Penumbral Brood Matriarch (200,210) maintains her matriarchy atop the mound.
Objective: Use the CHECMATE and kill the Penumbral Brood Matriarch
The Penumbral Brood Matriach is a mighty ak'ab who is Level 24 and has 5121 HP. She is surrounded by her protective shield of Matriarchy granting her immunity.
Use the [CHECMATE Laser Designator] from either your Mission Inventory or Quick Access Inventory while the Penumbral Brood Matriarch is your Offensive Target in order to remove her Matriarchy barrier.
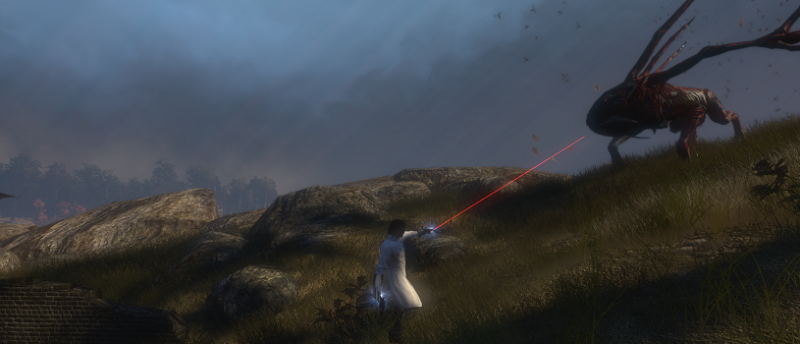
Removing Matriarchy with the CHECMATE deals a large amount of damage to the Penumbral Brood Matriarch. The CHECMATE will not deal any damage if there is no Matriarchy for it to destroy. Without any Matriarchy, the CHECMATE Laser Designator is effectively a glorified laser pointer.
Kill the Penumbral Brood Matriarch after removing her Matriarchy status.
As with all ak'ab, the Penumbral Brood Matriarch is capable of a damaging knockdown Dash into her foes.
Befitting an ak'ab monarch, the Penumbral Brood Matriach is able to cast a channelled leeching Royal Jelly which deals damage every 1 second while healing the Penumbral Brood Matriarch for 16% of the damage dealt.
The Penumbral Brood Matriach can also place a GTAoE of Royal Blood which deals damage every 0.5 seconds to any of her enemies standing within it - including the bee attempting to kill her!