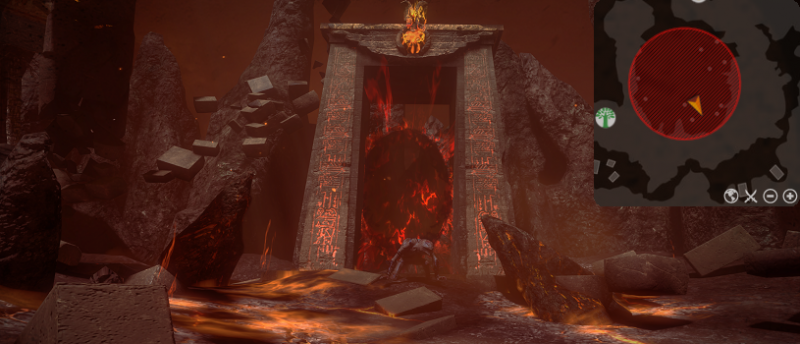
The valley is turning into a hub for all kinds. Most recently, hellish rifts have been opening up and spitting demons from the other side. They are drawn to the voice of the Black Pharaoh.
Tier 1
The valley is threatened by creatures from the Hell Dimensions. The rifts they pour through are ever widening. If possible they must be closed, or at least mitigated.
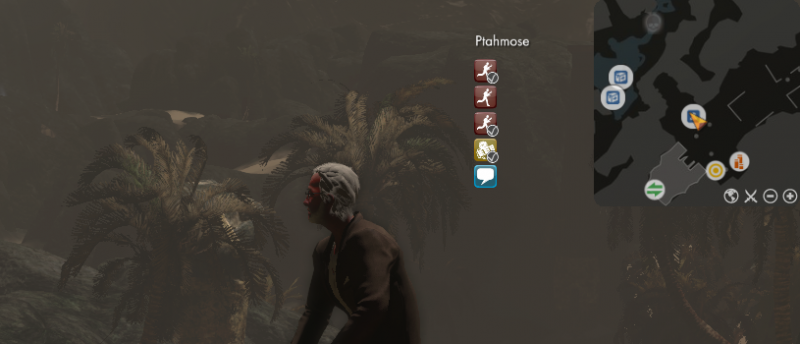
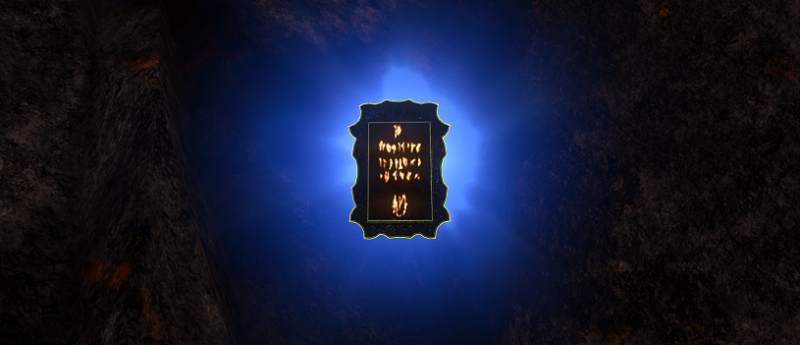
Objective: Enter Ptahmose's secret passage
Ptahmose's secret passage is in The Breach directly on the path behind him (400,35) by the entrance to the Scorched Desert. The Council of Venice Apothecary stands guard nearby as an Injured Marya is being tended to by a Marya Caretaker.
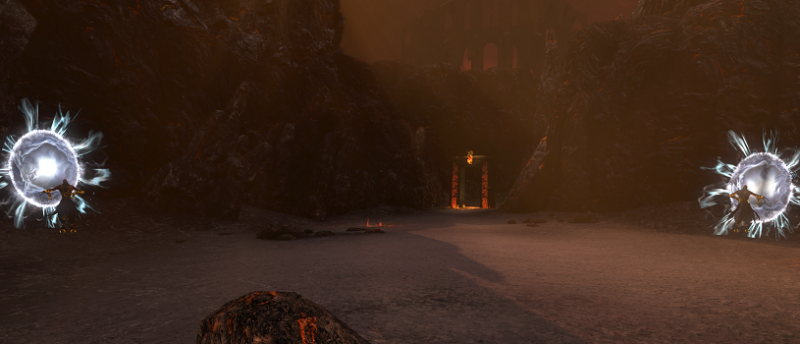
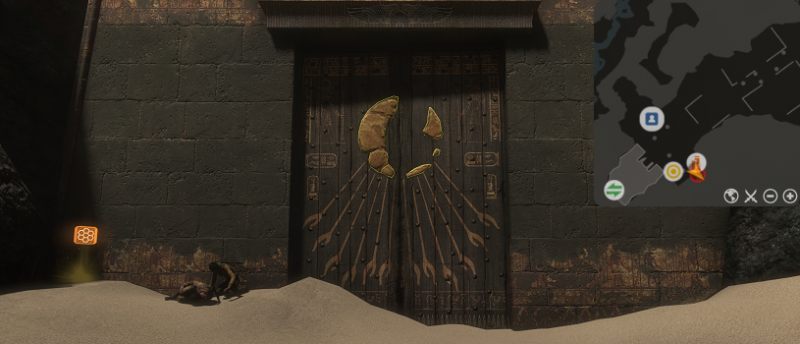 The secret passage takes you to the cliffs between the Withered Spring and The Hollow (775,220) close to the Agartha Entrance.
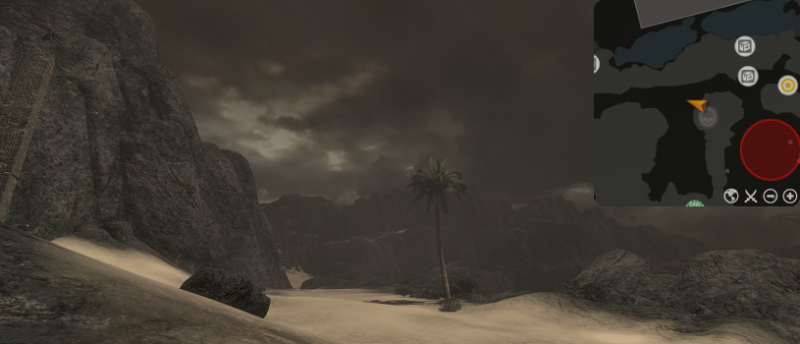
Objective: Use the passage to reach the hellish forces
Enter the Hollow (835,220) to the East of the secret passage, where Hellish forces roam under red skies.
Tier 2
The distinction between worlds is becoming ever more tenuous. The Earth's sky grows red and ashen. Find the principle Hellrift and try to mitigate the invasion.
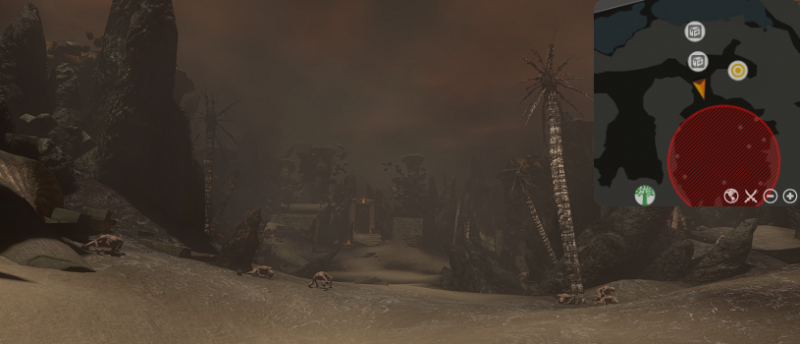
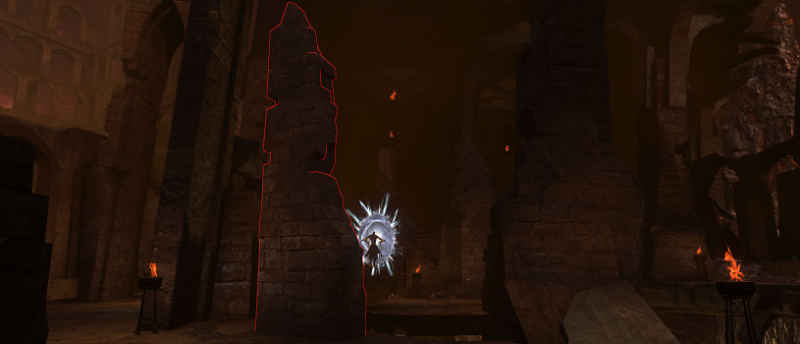
Objective: Locate the principle Hellrift
There are three large Hellrifts within the Hollow. Each one [(905,180), (885,95), (810,130)] is a principle Hellrift. Approach one of the Hellrifts.
Objective: Find a way to close the principle Hellrift
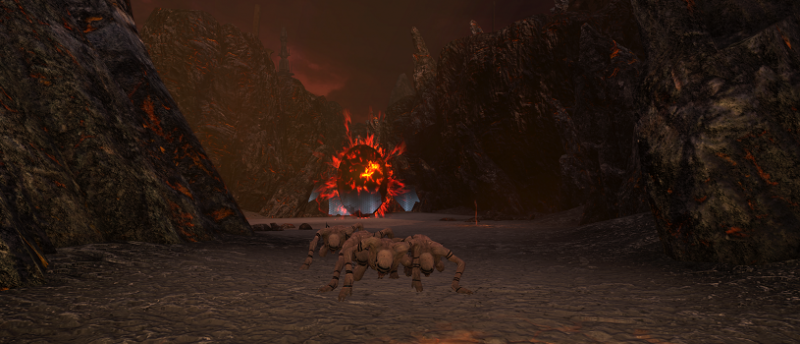
Each Hellrift has two Hellrift Stabilisers guarded by a single Invading Breachbeast each stationed on the Hellrift's platform. Use a Hellrift Stabiliser to deactivate it. Deactivating a Hellrift Stabiliser will cause 2 Protective Breachbeasts to come out of the Hellrift and attack.
Deactivate both Hellrift Stabilisers.

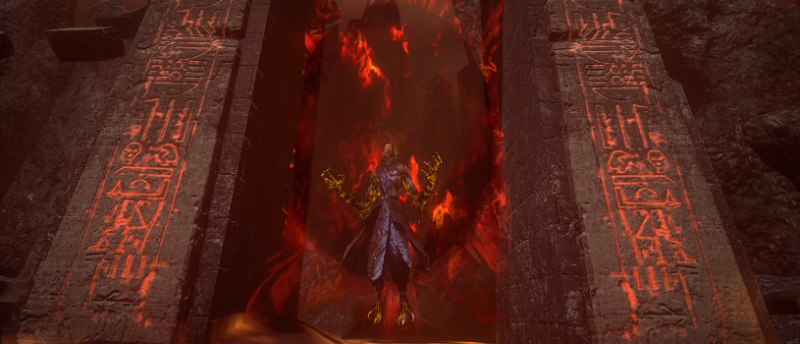
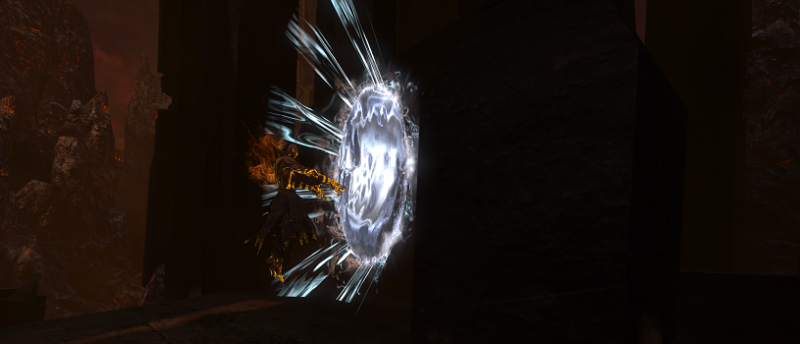
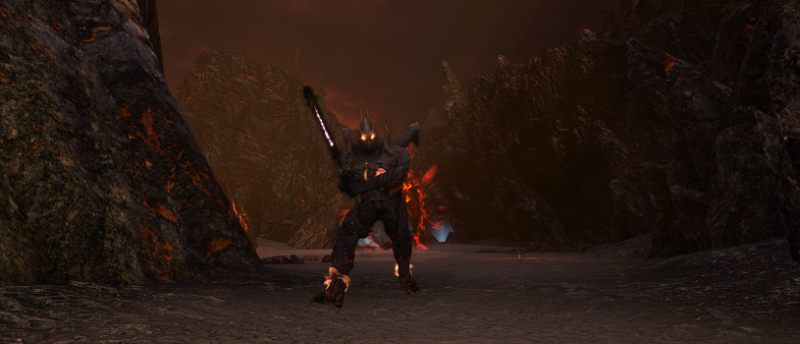
Once both Hellrift Stabilisers to a Hellrift have been deactivated, a Jinn Surger appears in front of the Hellrift to defend it. Defeati the Jinn Surger to allow access to the hellrift. Use the stable hellrift to enter Hell.
Tier 3
When closing the rift, it pulled you like a whirlpool into the Hell Dimensions. Take this opportunity to explore your surroundings and discover what powers the rifts.
Objective: Explore your surroundings
This goal is only visible after using the stable Hellrift and is completed upon fully loading into The Howling. A successful teleport through the stable Hellrift is enough for the surroundings to be considered successfully explored.
Objective: Find out what powers the Earthrifts
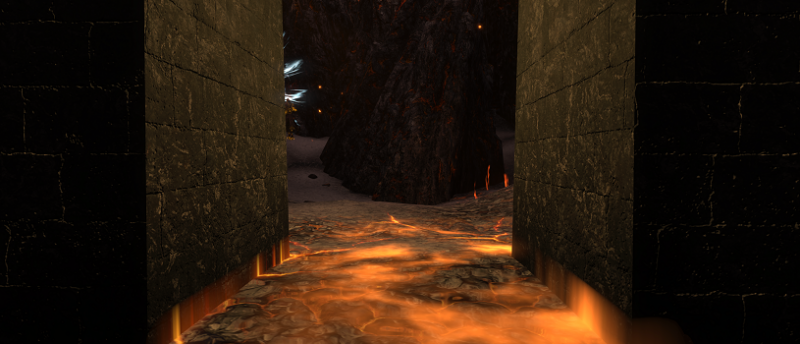
Welcome to the Howling. A Jinn Riftseeker tends to a nascent rift nearby. Kill the Jinn Riftseeker to destabilise the rift and reveal an Earthrift fragment as the source of the portal's power.
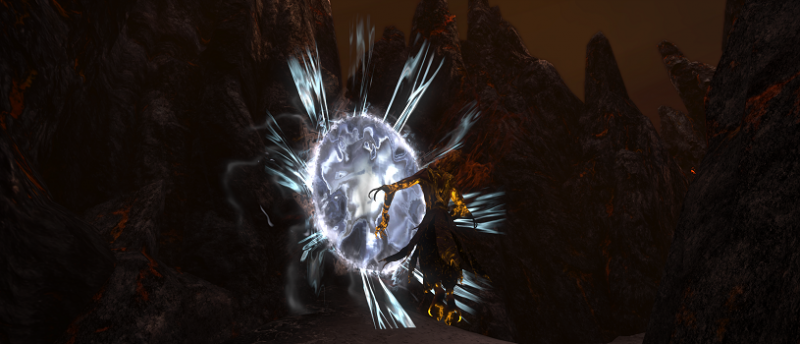
Take the Earthrift Fragment for yourself. Pick it up. Grasp it.
Tier 3 Fail
The demons are using rifts to sustain a link between Earth and the Hell Dimensions. The boundaries between worlds must be kept from falling.
Objective: Go back to the Hellrift
Return to one of the principle Hellrifts at the Hollow.
Objective: Destabilise the Hellrift and re-enter Hell
Deactivate the two Hellrift stabilisers of a single Hellrift to summon another Jinn Surger. Defeat the Jinn Surger and use the stable Hellrift.
Tier 3
The demons use ancient fragments to control rifts that spiral into Earth. Take possession of these fragments and create a passage for the express purpose of coming home.
Objective: Collect more of the Earthrift fragments
Collect 4 more Earthrift fragments from the Howling. The path through the Howling is rather linear and contains more Earthrift fragments than required. You do not need to grab the 4 Earthrift fragments in any particular order, but you will need to collect 4 Earthrift fragments nonetheless.
Proceed forward through the Howling until you come to an Unstable stone wall (535,780). Destroy the Unstable stone wall in order to create a bridge across the fiery chasm below.
Cross the stone bridge and destroy the next Unstable stone wall (535,785). Cross the second stone bridge. To the left is another Jinn Riftseeker (510,775). Defeat them and claim their Earthrift fragment from the collpased portal.
Continue forward. Two Jinn Riftseekers work their magic up ahead on the left (510,845) and right (520,825). Defeat them and take their Earthrift Fragments.
Press onward to where two Jinn Riftseekers works close to an inactive Earthrift on the left (575,890) and right (600,850).
Defeat at least one of the Jinn Riftseekers and take one of their Earthrift fragments from them.
Objective: Find a location that can sustain a passage home
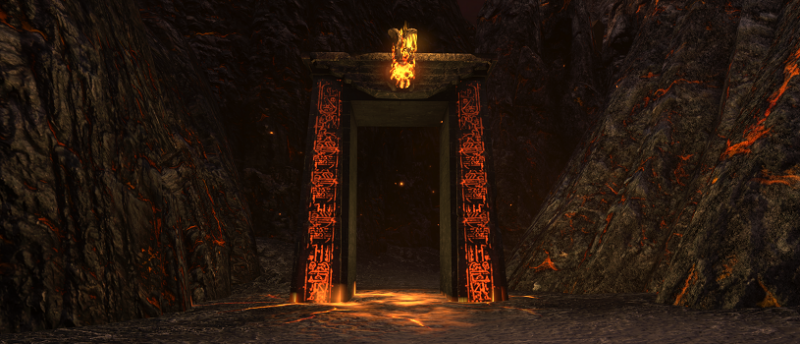
Go to the empty doorway (625,880) of an inactive rift.
Objective: Place the fragments in the doorway
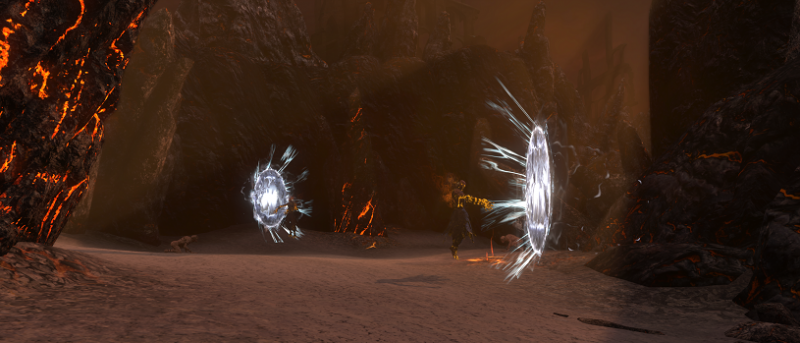
The doorway is perfect. Place the earthrift fragments here at the threshold.
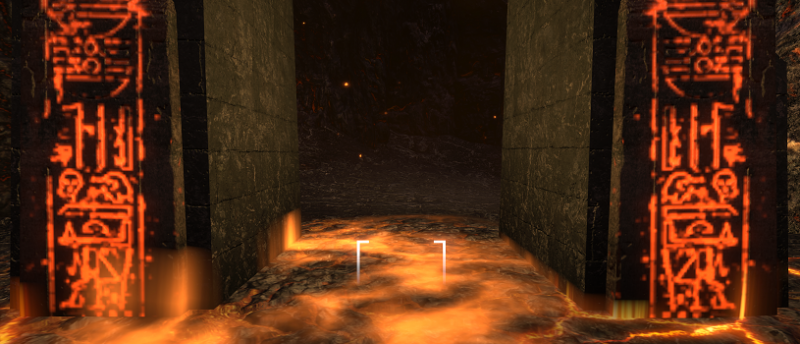
This will create a Stabilizing Earthrift and initiate an assault. Be prepared to defend your Stabilizing Earthrift once the fragments have been placed.
Tier 3
An unstable rift is as dangerous as one of a demon's making. Leaping in could lead you anywhere, or into the depths of nowhere at all.
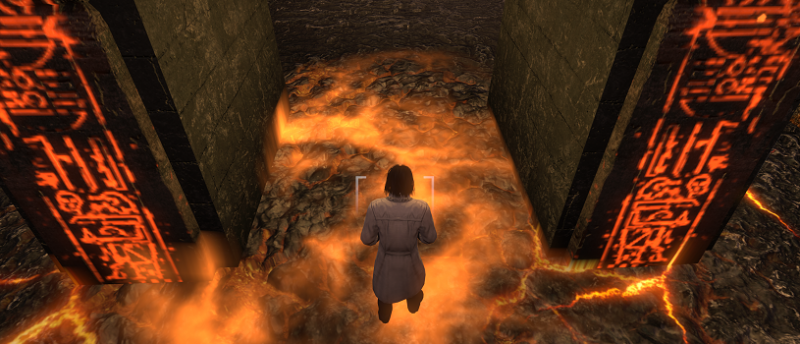
Objective: Defend your Earthrift while it stabilises
The denizens of the Howling do not want you to access an Earthrift. Do not allow enemies to destroy the Earthrift. The Stabilizing Earthrift starts with 9154 HP. Defend the Stabilizing earthrift from the assault. There are a total of four waves of enemies, 3 waves of which consist of 4 Assaulting Breachbeasts. The fourth and final wave is a single enemy: the Hell Commander.
An initial wave of 4 Assaulting Breachbeasts will attack. Another 4 Assaulting Breachbeasts will attack next, followed by a third wave of 4 Assaulting Breachbeasts. Waves will occur after a specific period of time (60 seconds) but can be triggered immediately upon defeat of the previous wave.
Once enough time has elapsed or all waves of Assaulting Breachbeasts have been killed, the Hell Commander of the assault will join the fray. Defeat the Hell Commander to end the assault.
Objective: Use your Earthrift to come home
Use the Stable Earthrift to leave the Howling and return to your home Dimension. The Earthrift must be used in order to complete Dust Devils. Leaving the Howling through any method other than the Earthrift will require you to destabilise a Hellrift to re-enter Hell to active and defend the Earthrift again.

The Earthrift deposits you across from Moutemouia's monument outside of the Hollow (835,220) and completes this mission.
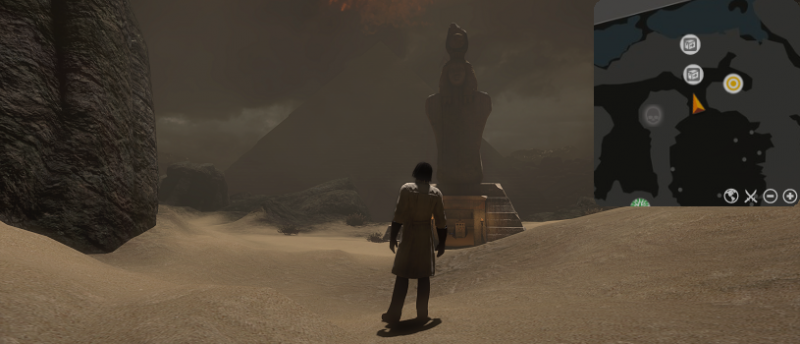
Welcome home.
Tier 3 Fail
The demons are using rifts to sustain a link between Earth and the Hell Dimensions. The boundaries between worlds must be kept from falling.
Objective: Destabilise the Hellrift and re-enter Hell
This objective is aquired when the Earthrift defence has failed, either through destruction of the Earthrift or by leaving the Howling while defending your Earthrift as it stabilises or before reactivating the Earthrift after a failed defence of your Earthrift. This goal is reached if the Howling is left by any means other than the Earthrift if after a successful defence.
This goal is automatically completed if you remain in the Howling after the Earthrift's destruction. It will progress to "Reactivate the Earthrift in the doorway".
BUG WARNING: If you need to re-enter the Howling after failing to defend or reactivate the Earthrift, Hellrift stabilisers cannot be deactivated while on this particular version of this goal. It is advised that you pause Dust Devils if you are stuck unable to re-enter Hell and then resume the mission from Ptahmose. Resuming Dust Devils will return the mission to a working version of Tier 3.
Tier 3 Fail
The demons will seek to keep you here at all costs. Create and defend a stable passage home.
Objective: Reactivate the Earthrift in the doorway
Return to the doorway and use the fragments at the threshold again. With the Earthrift reactivated, the mission will progress to "Defend your Earthrift while it stabilises" and the defence of the stabilizing earthrift will begin anew.