A Flight of Locusts
Posted by on January 20, 2026.
Last updated by on January 20, 2026.
Contributions made by .
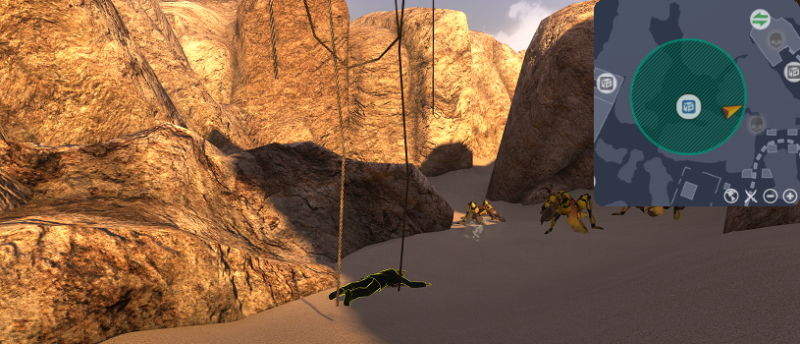
Debris from the crashed Orochi plane is scattered across the area and the remains of the dead crew have attracted the unwanted attention of locusts. There might be something of worth in the cargo, but be careful. The locusts are unlikely to let you rummage through the wreckage undisturbed.
 The mission "A Flight of Locusts" rewards [Glyph Reward Bag] x 1, [Talisman Reward Bag] x 2, and [Weapon Reward Bag] x 1.
Tier 1
Task Description
Investigate the area to see if you can find valuable cargo.
Objective: Search the area for Orochi cargo crates
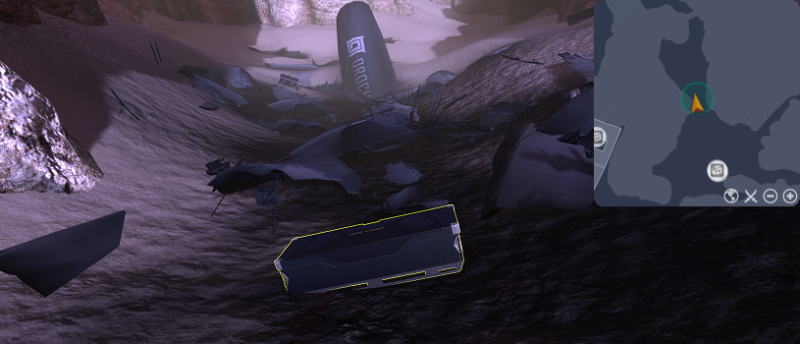
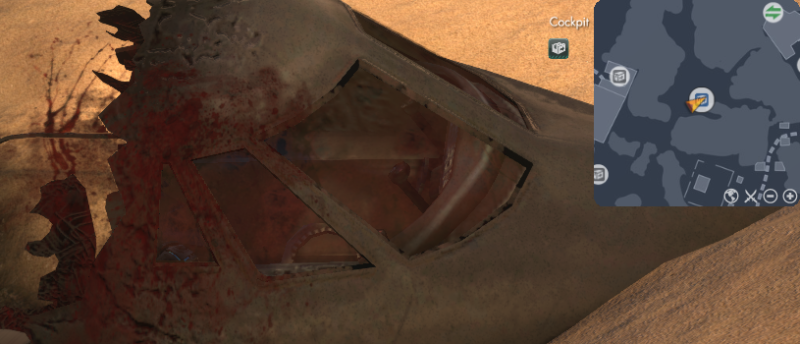
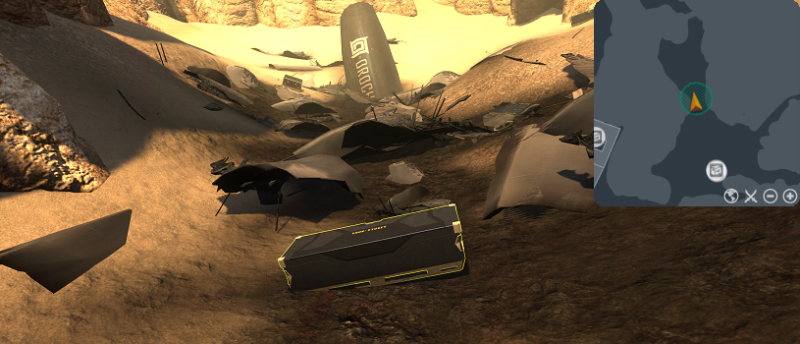
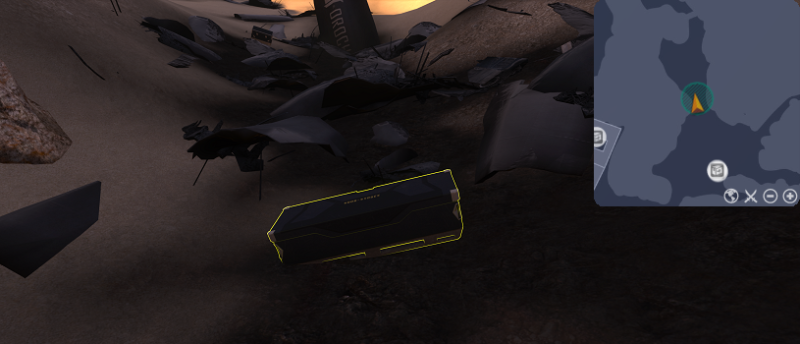
Follow the trail of debris from the cockpit to the still-intact turbine plane to find scattered Orochi cargo crates. In the remains of the fuselage (625,1105) is one particular [Orochi cargo crate] of interest. Use the [Orochi cargo crate] in the center of the debris. Doing so will complete the goal and result in a FIFO On-Screen Message.
FIFO On-Screen Message
This crate is electronically locked. There are four keycard slots.
Using the incorrect [Orochi cargo crate] will result in a FIFO On-Screen Message indicating that it is not the right crate.
FIFO On-Screen Message
You find nothing of interest in this crate.
Objective: Find a way to open the cargo crates
Search the wreckage to find one of four Orochi operatives that had served as the crashed plane's crew. Examine any one of them to find a keycard. It does not matter which of the four Orochi operatives is examined for this goal.
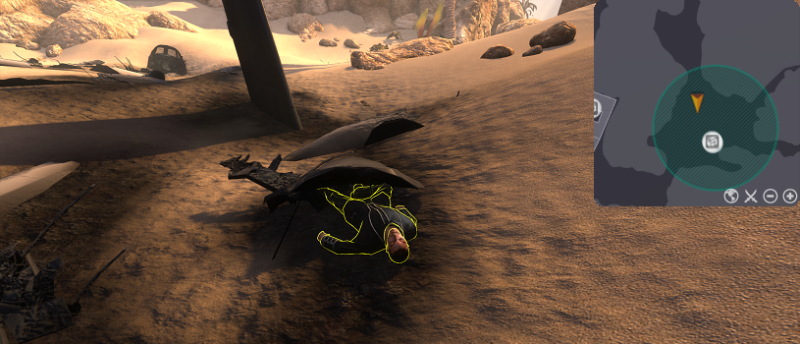
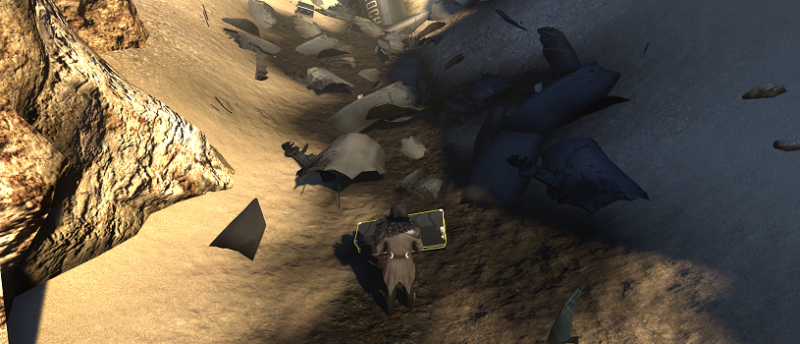
Following the wreckage back toward the front leads directly to an [Orochi navigator] (630,1075) partially buried beneath fragments of the fuselage. This is the closest Orochi operative to the Orochi cargo crate.
Objective: Find the first keycard
Objective: Find the second keycard
Objective: Find the third keycard
Objective: Find the fourth keycard
Examine the [Orochi pilot], [Orochi first officer], [Orochi navigator], and [Orochi flight engineer] to find the first, second, third, and fourth keycards respectively. The unfortunate Orochi operatives from the flight each carried one of the four keycards.
The keycard held by whichever Orochi agent is examined earlier in the mission will already be accounted for and completed. There is no need to examine the same body twice.
Find the first keycard
A parachute is impaled on the cliff to the East of the cockpit. Beneath it lies the corpse of the [Orochi pilot] (705,1040), who tragically did not survive his parachute getting caught or the locusts around him as he fell. Examine the [Orochi pilot] to retrieve the first keycard.
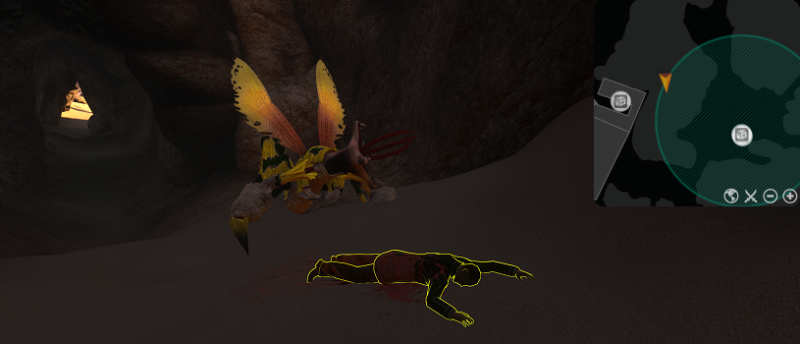
Find the second keycard
Follow the trail of blood leading West-North West away from the cockpit and toward a small tunnel (610,1050). In the far back of the cavern rests the blood-smeared body of the [Orochi first officer] (580,1085). A Sandhorror locust had dragged the poor soul inside. Examine the [Orochi first officer] to retrieve the second keycard.
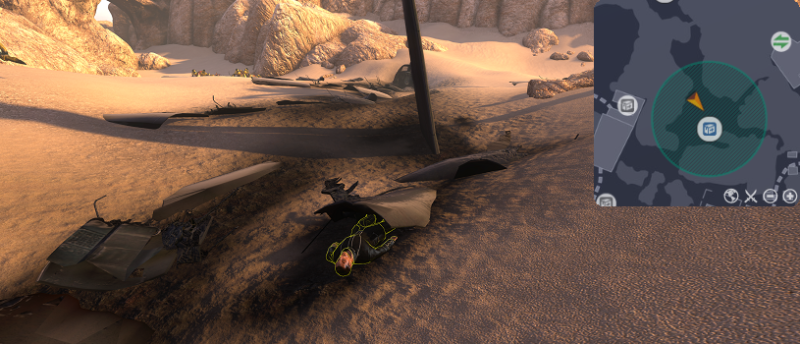
Find the third keycard
Follow the wreckage between the cockpit and cargo crate. In the body of the plane is an [Orochi navigator] (630,1075) partially buried beneath fragments of the fuselage.
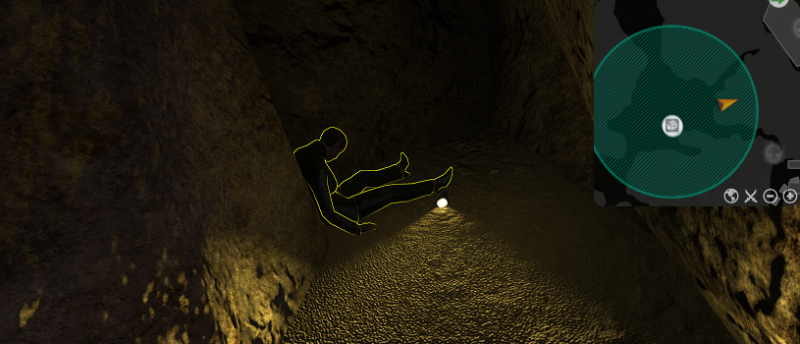
Find the fourth keycard
Follow the trail of blood leading North East away from the cockpit and toward a small cave entrance illuminated by the still-lit flashlight of the fallen [Orochi flight engineer] (695,1065). Examine the [Orochi flight engineer] to retrieve the fourth keycard.
Tier 2
Task Description
With all the keycards in hand, you should be able to open the cargo crate.
Objective: Open the Orochi cargo crate
Return to the [Orochi cargo crate] (625,1105) and open it.
Tier 2
Task Description
With all the keycards in hand, you should be able to open the cargo crate.
Objective: Survive the Sandhorror attack
An assault of Sandhorror locusts ambushes immediately! Kill the assaulting Sandhorror locusts. You cannot wait the attack out.
The assault consists of 3 waves of locusts with a 30 second delay between following waves when not prompted to spawn by the death of the previous wave. The first (1st) wave consists of Sandhorror Swarmer x 4. The second (2nd) wave consists of Sandhorror x 2. The third (3rd) wave consists of Sandhorror Hiver x 1.
Dying to the Sandhorror locusts causes the locusts to retreat, but the attack was not survived. Use the [Orochi cargo crate] to re-initiate the Sandhorror assault if that occurs.

Tier 2
Task Description
With all the keycards in hand, you should be able to open the cargo crate.
Objective: Retrieve the cargo
There are no more Sandhorror locusts to stop you. Open the [Orochi cargo crate] to retrieve its contents for your Faction.
Tier 2 Fail
Fail Task Description
With all the keycards in hand, you should be able to open the cargo crate.
Fail Objective: Open the Orochi cargo crate
Return to (625,1105) and interact with the [Orochi cargo crate] to restart the Sandhorror attack. This fail task only appears after exiting the mission area for more than 10 seconds during the Sandhorror assault.