Assault on Orochi Tower
Posted by on October 10, 2025.
Last updated by on October 10, 2025.
Contributions made by .
At last, a way into Orochi Tower is open. However, the nerve centre of the world's largest corporation is unlikely to be without security measures. The path will not be easy.
This is the repeatable version of Assault on Orochi Tower. You must have have completed Confrontations and Revelations to unlock this mission. For the unrepeatable version of this mission granted after completing The Signal, see Assault on Orochi Tower.
Assault on Orochi Tower rewards [Weapon Reward Bag] x 1, [Talisman Reward Bag] x 2, [Glyph Reward Bag] x 1, and a low chance at an [Agent Dossier] x 1.
Tier 1
Task Description
Gain entry into Orochi Tower.
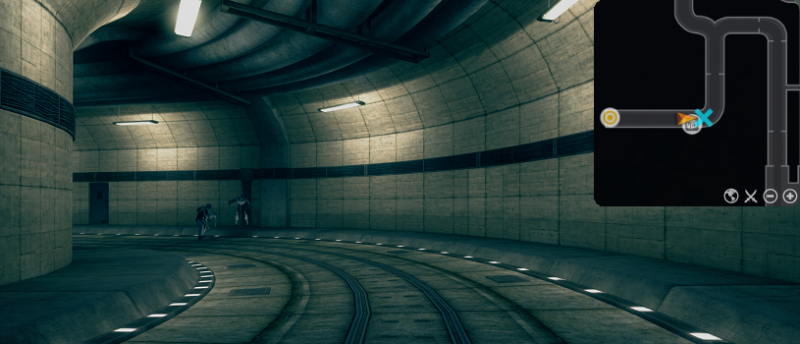
Objective: Go to the tunnel
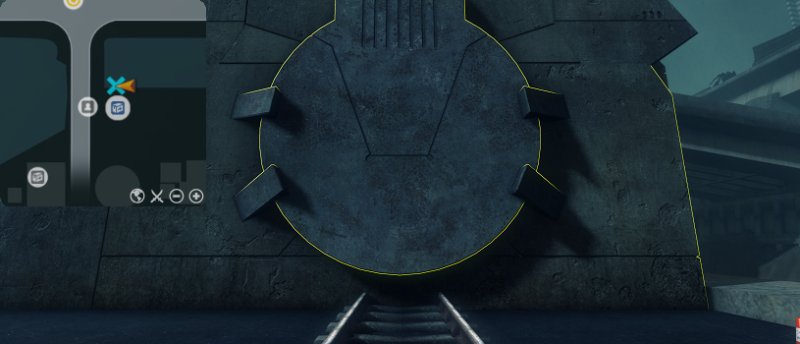
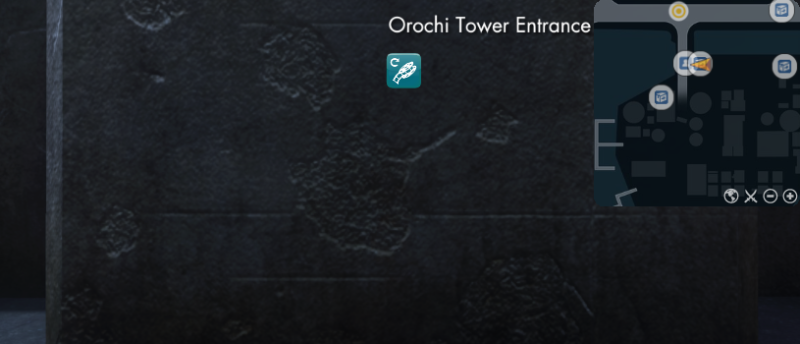
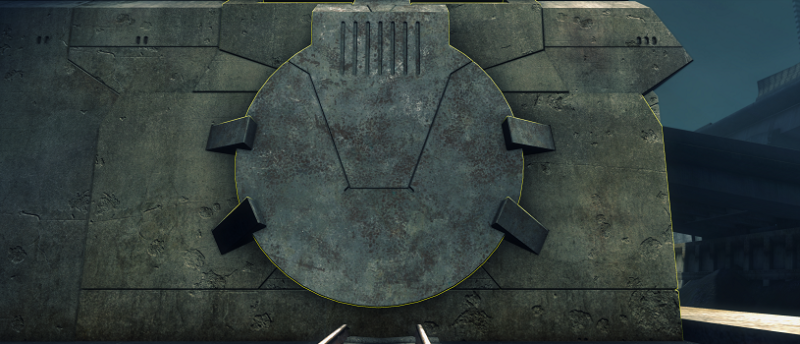
Use the enormous train tunnel entrance (415,350) at the Gateway to Orochi Tower to travel to The Orochi Underground.
Quick Reaction Force
Travelling to The Orochi Underground will initiate the timer for Achievement: Quick Reaction Force. Complete the mission "Assault on Orochi Tower" within 6:00 minutes. The timer buff for this achievement is acquired after travelling to The Orochi Underground. The Achivement: Quick Reaction Force buff can be re-acquired by exiting and then re-entering the playfield.
Tier 2
Task Description
Gain entry into Orochi Tower.
Objective: Push further into the tunnels
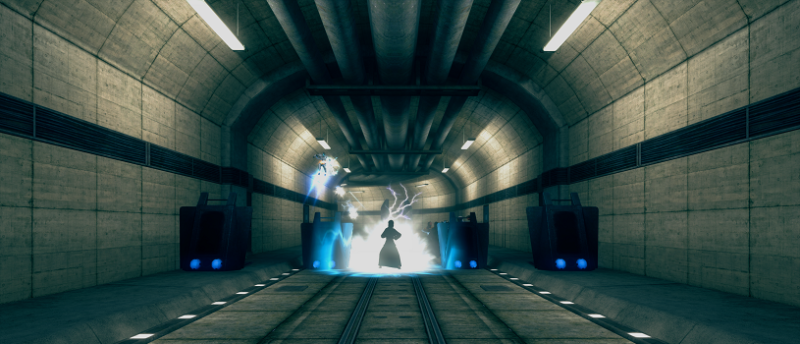
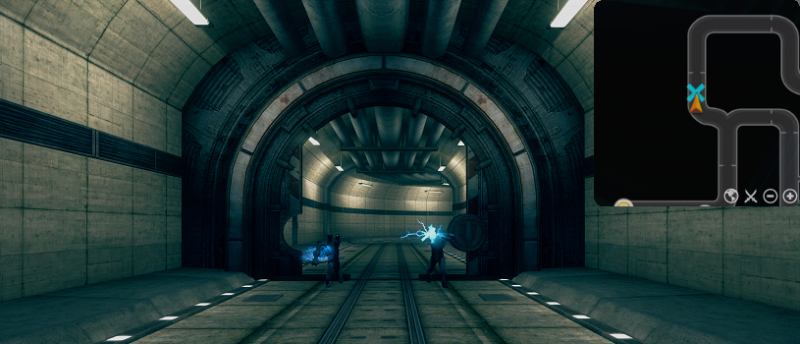
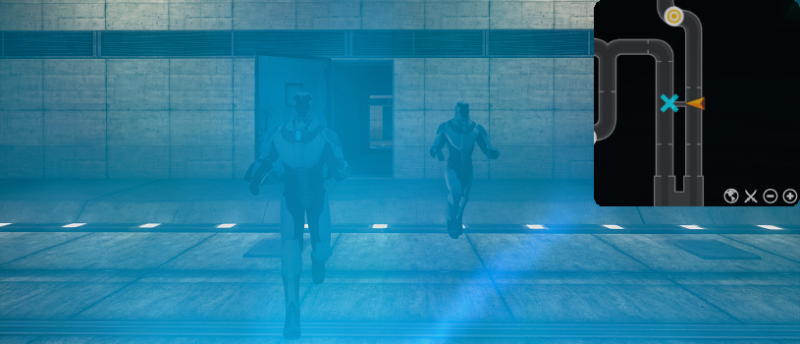
Upon travelling to The Orochi Underground, the first thing in sight is the Jingu Clan fighting Orochi Drones by an Orochi barricade as the Jingu attempt to push further into the Orochi Underground - Section 001A tunnels.
Move past the barricade brawl to the other side of the brawl before the tunnel turns (120,275). A member of the Jingu Clan will run ahead around the bend and receive a shocking surprise: obliteration by the Energy Beam of an Orochi Tank stationed farther into the tunnel.
Fallen Allies
The Fallen Jingu Clan (120,270) to start the Side Mission Fallen Allies is against the wall of the tunnel directly past the Orochi barricade in Orochi Underground - Section 001A.

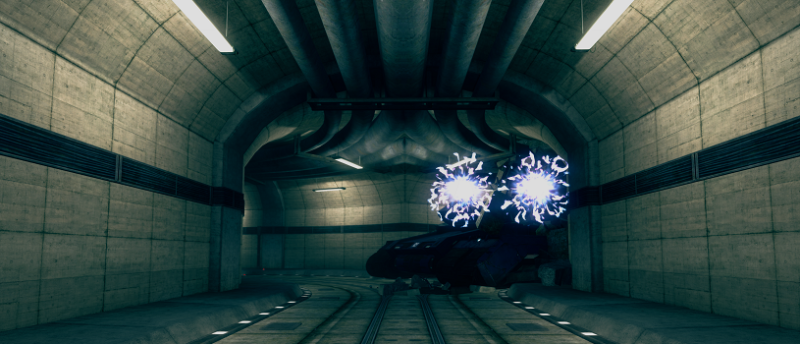
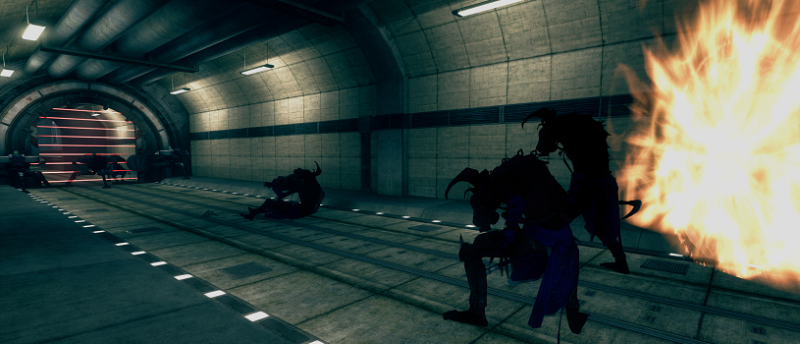
Objective: Disable the Orochi Tank
The Orochi Tank represents a powerful and deadly threat. The Orochi Tank will attack with its Energy Beam when it spots a foe within 50 metres of it in line of sight. The Orochi Tank's Energy Beam is a 360 degree 5-metre radius Hostile GTAoE that deals physical damage and has a 1.5 second cast time and 0.5 second recast time. The Energy Beam is fatal to any friendly Non-Player Characters hit by it.
The Orochi Tank cannot effectively aim the barrels of its energy cannon at anything within close range. Anything within 5 metres of the dual-barrel cannon muzzles (135,325) will not be targeted by Energy Beam.
Bug Warning: If the Energy Beam GTAoE hits part of a group of multiple Orochi cyborgs while one of the cyborgs is outside of the GTAoE radius, the Orochi Tank will generate threat towards the surviving Orochi cyborg(s) and engage in combat with any cyborgs that turn against it. This can cause anomalous behaviour from the Orochi Tank: either its cannonfire will cease completely as the invisible leet entity casting it is killed by its ally, or the Orochi Tank's cannonfire origin point position will move as its invisible leet entity moves to reach the cyborg attacking it directly. In either case, the Orochi Tank will no longer behave correctly for the affected instance of The Orochi Underground.
 Every 15 seconds while within 5 metres of the Orochi Tank's cannon, an Orochi Security Sphere will arrive and attack until there are a maximum total of 5 Orochi Security Spheres at any given time. Each Orochi Security Sphere is capable of a hostile single-target Laser Zap generic attack ability that deals very light physical damage. Laser Zap has a 4 metre range and a 0.8 second cast time.
Any time an Orochi Security Sphere's health is brought below 30% it will Detonate with an 2.5 second cast time in a 3 metre radius 360 degree Hostile PBAoE capable of inflicting physical damage to all enemies within the detonation radius. Any Orochi Security Sphere hit will itself Detonate in a chain reaction. Orochi Security Spheres cannot be brought below 2509 HP nor can they be killed without allowing them to Detonate. If you die while engaged with any Orochi Security Spheres, they will not re-engage in combat and will no longer spawn.
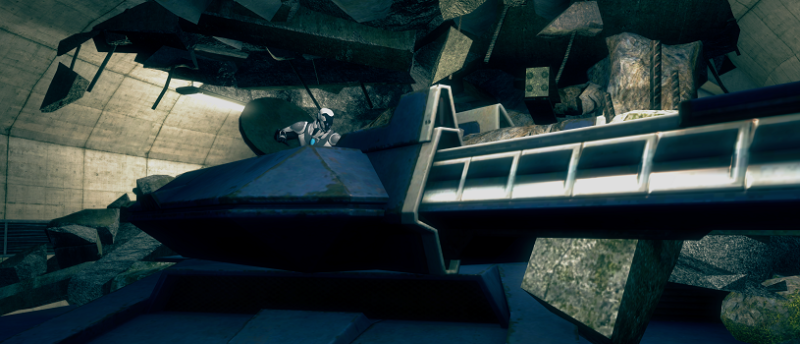
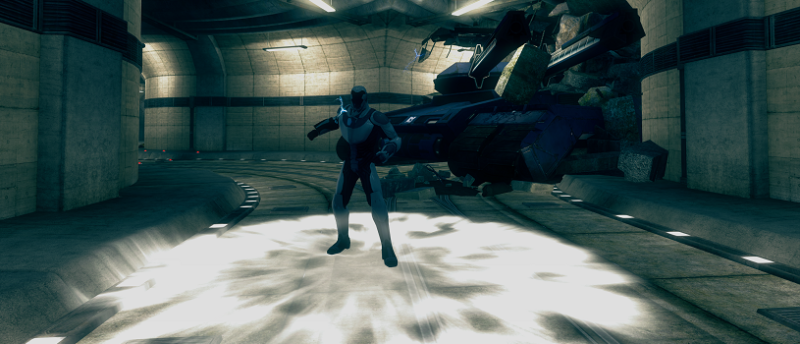
Approach the Orochi Tank (135,325) to trigger a cinematic of the Orochi Tank's operator climbing out of the hatch to defend its position in close range. The Orochi Tank is now unmanned and can no longer fire Energy Beams. Any Orochi Security Spheres in the vicnity have fled the scene. No Orochi Security Spheres will approach at this point. The Orochi Peacekeeper stands at the ready by its tank (130,330) and blocks the way forward.
 Kill the Orochi Peacekeeper. It is a Level 50 Orochi Drone with 34218 HP.
The Orochi Peacekeeper's generic attack is a single-target damaging Melee ability that has a 0.5 second cast time and 1.5 second recast time. This attack deals minor physical damage to a single target within 3 metres of the Orochi Peacekeeper.
Periodically, the Orochi Peacekeeper will gathers quantum energy into its right fist, leaping upwards and smashing its right fist onto the ground in a 360 degree 3 metre radius Hostile Melee Quantum Frenzy PBAoE Power Slam. Power Slam has a 2 second cast time and 13 second recast time. Any foe hit by Power Slam is inflicted with a small amount of physical damage and will be Knocked Down and unable to act for 3 seconds as they become Impaired and thrown backwards. The Knock Away of Knocked Down is subject to Diminishing Returns and will be weaker on subsequent afflictions of Knocked Down within a short 14 second timeframe.
 After defeating the Orochi Peacekeeper, all Orochi Mine Layers hovering in the tunnel past the Orochi Tank detonate harmlessly.
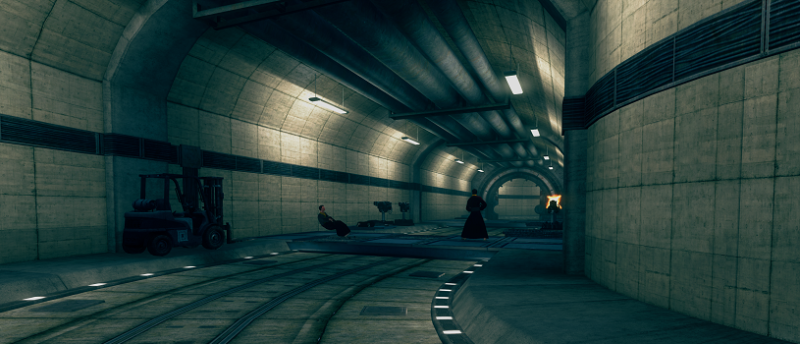
Objective: Cross the minefield
Shortly after the Orochi Peacekeeper has been defeated and the Orochi Tank is disabled, a group of 5 Korinto-Kai rush forward into the minefield. Unfortunately for them, they do not survive. Fortunately for you, they have cleared the way through the minefield.
Cross the cleared minefield after the Korinto-Kai Enforcers' and Korinto-Kai Executioners' explosive sacrifice is complete. The second [Jingu katana] for Fallen Allies rests against the second interior corner (120,345) curving the end of the minefield.
![]()
At the other side of the minefield is the guarded gate to Orochi Underground - Section 004A (115,355).
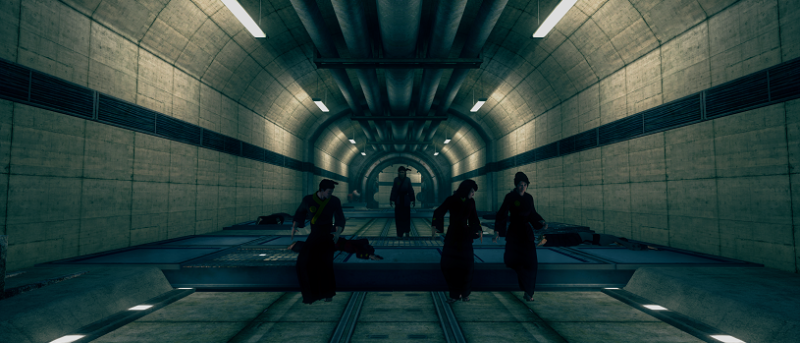
Objective: Cross the pressure plates
Around the bend of Orochi Underground - Section 004A, two Jingu Bushi rush forward and attempt to cross the pressure plates. The pair of Jingu Bushi have triggered the hidden Turrets in the process and are swiftly killed. The pressure plates are pressure-sensitive. A few pressure plates have been detached and are incapable of sensing pressure.
After 10 seconds, more Jingu Bushi arrive. The Jingu Bushi now take a more cautious approach to crossing the pressure plates: they moonwalk to avoid being sensed by the pressure plates. The turrets are none the wiser.
The initial set of pressure plates (125,395) has 4 Turrets between it and a second set of pressure plates (145,395) that is followed by 2 more Turrets. Each Turret is inactive until pressure is detected on any of the pressure plates. As soon as pressure is detected on a pressure plate, all 6 Turrets activate and cast Rapid Fire. Each hit of Rapid Fire deals physical damage equal to approximately 10% of your maximum HP. Rapid Fire is cast rapidly every 1.0 second.
 The third [Jingu katana] needed for the Side Mission Fallen Allies is on a Jingu Clan body (135,400) on a detached pressure plate between the two sets of plates.
Follow the example of caution set by the Jingu Bushi and carefully cross the pressure plates.
There are multiple ways to cross the pressure plates without triggering the Turrets to attack:
Emotes
Follow the lead of the Jingu Bushi by facing away from the plates and using the Moonwalk or Moonwalk Pro emotes accessible from the Actions tab of the Emotes GUI ([O] by default). The Cartwheel emote also found in the Actions tab is a valid emote option. These emotes previously had associated chat commands (/moonwalk, /moonwalk_pro, and /cartwheel respectively) which were removed in 2018, resulting in these three emotes only being usable through the Emotes GUI.
Do not let the emote end while you are still on a pressure plate. It may be necessary to use an emote multiple times in a row to safely cross a column of plates.
Dodge
Use any Dodge spell to cross the Pressure Plates. This includes Dodge Forward, Dodge Backward, Dodge Left, and Dodge Right. When dodging over pressure plates, be sure to dodge directly in front of the plate. Aimed correctly, a Dodge can safely cross two plates in a row in a single cast.
Abilities
Use a dash or teleport ability to cross the pressure plates. This includes the Assault Rifle Special Ability Tactical Retreat when used alongside the Withdrawal passive to ensure a 10 metre backwards dash, the Blade Special Ability Rushing River to dash forwards 10 metres, and the Elementalism Special Ability Flicker to teleport forwards 10 metres.
Gadgets
Use either the [Fey Line Stone] gadget to teleport forwards between 10-15 metres depending on item quality or turn around and use the [Superluminal Bridging Device] gadget to teleport backwards 10 metres to cross the pressure plates.
Safely make it to the other side of the pressure plates and pass through the gate (165,395) to Orochi Underground - Section 006A.
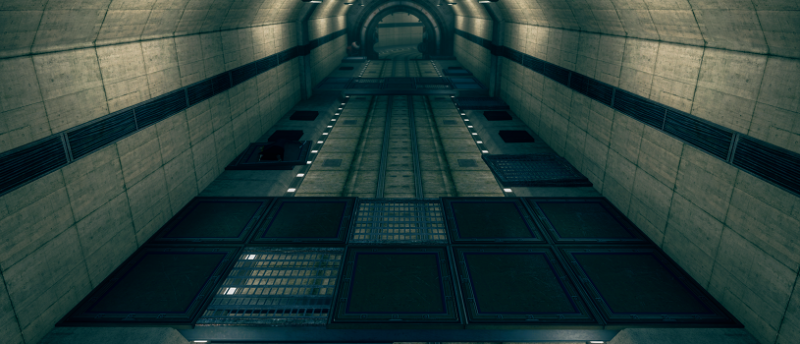
Objective: Proceed further into the tunnels
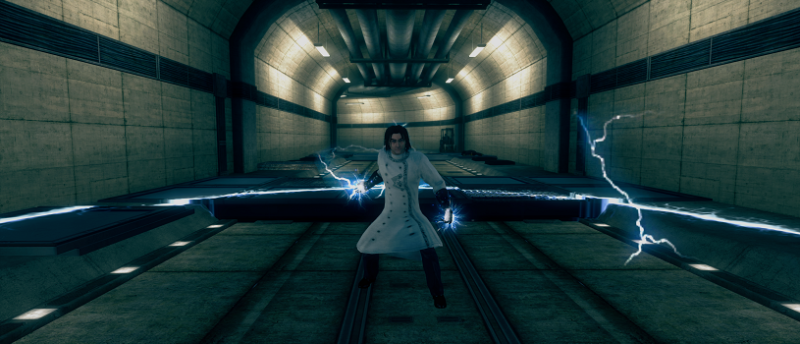
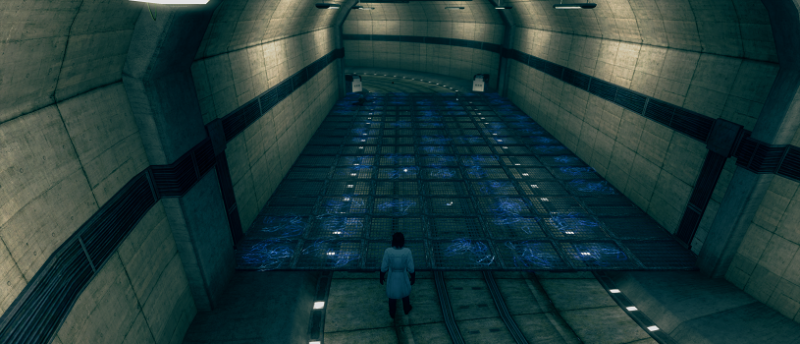
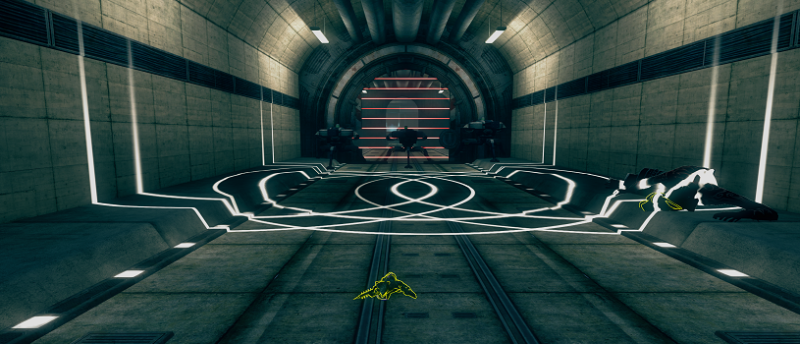
Head farther into the tunnels of The Orochi Underground. Within Orochi Underground - Section 006A is an electric grid containing a barely-visible pathway starting at (175,385). While some segments on the grid have uneven distributions of sparks, the entirety of any cell of the grid is electrified if any part of that cell is electrified.
Stepping into an electrified portion will make you Electrified and suffer severe environmental damage equal to 75% of your maximum HP every 1.0 second. It will hurt. You will die. You can only survive one hit.
 Reach the other side (180,385) of the electrified grid and enter Orochi Underground - Section 008A. If also running the Side Mission Fallen Allies, grab the first [Korinto-kai weapon] from the electrified floor (175,370) on the way to Orochi Underground - Section 008A.
Continue down the tunnel to an unfinished and unpowered grid. One Orochi Melee-Pacification Effigy patrols in front of the grid and two Orochi Razor-Dance Effigies are on the grid. The second [Korinto-kai weapon] (190,330) for Fallen Allies is against the wall in the unfinished grid of Section 008A.
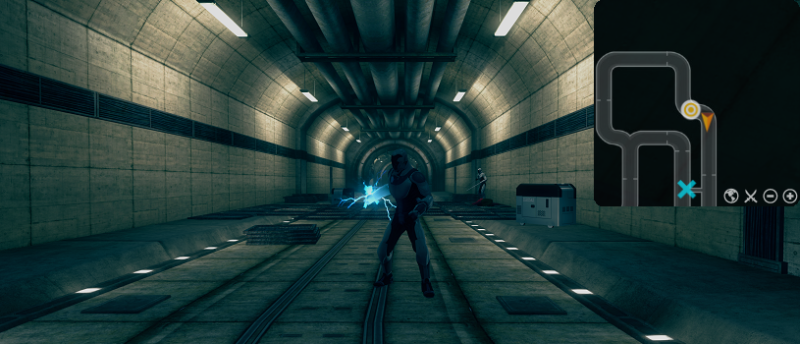
The third [Korinto-kai weapon] for the Side Mission Fallen Allies is found is at the end of the tunnel (200,270) of Section 008A. It is guarded by a pacing Orochi Melee-Pacification Effigy.
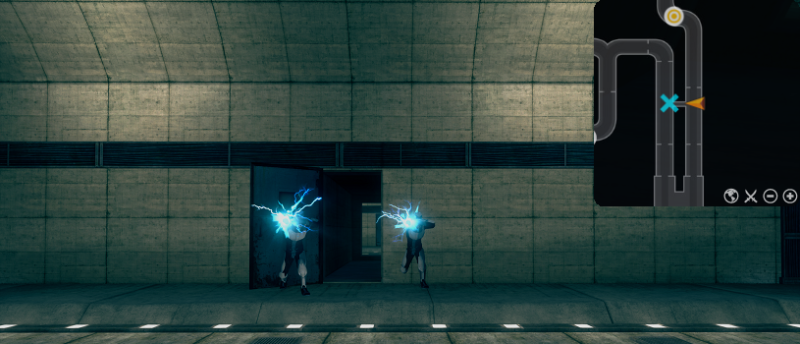
There is an open doorway (190,295) framed by 2 Orochi Ranged-Pacification Effigies near the end of Section 008A. Walk through the door to ente the final tunnel.
Objective: Bypass the turrets
A swarm of House-in-Exile Hexers and House-in-Exile Lurkers rush past the door and into the Barrages of three Orochi Sentry Turrets. Some of the oni vanish into Hellish portals to avoid being hit by a fatal Barrage, while others are not so lucky.
Go the opposite way of the House-in-Exile oni to find The Bomb Legend Entry 6 (145,340) hiding in a pile of crates and rubble that serve to blockade the end of the tunnel against the Orochi Tank. It is accessible by retreating back into the tunnel that the oni approached from after reaching the doorway at Orochi Underground - Section 008A.
For Fallen Allies, go the opposite way to find a fallen House-in-Exile oni (170,335) clutching the first [House-in-Exile mask] to pick up.
A House-in-Exile Hexer was caught in a barrage and dropped a [Demonic device] (175,285) in the middle of the turrets' path. Wait for the Barrage to cycle back to the Orochi Sentry Turrets before running to the [Demonic device]. Interact with it as quickly as possible to pick it up and place it into your Mission Inventory.
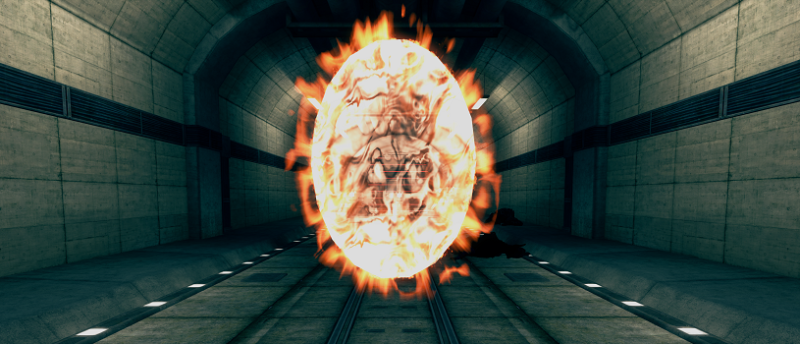
 Use the [Demonic device] from the Mission Inventory or Quick Access shortcut bar after retreating from the barrages. Using the Demonic device has a 2 second cast time and creates a Hell portal that persists for 10 seconds. Walk into the portal to teleport behind the Orochi Sentry Turrets and laser grid (175,260).
 Use the [Fuse box] on the wall (180,265) to turn off the Orochi Sentry Turrets and laser grid. This will allow you to easily re-enter the tunnel without worry of instant death by Barrage.
If running the Side Mission Fallen Allies, backtrack to the now Barrage-free tunnel and to find the second [House-in-Exile mask] (170,280) still strapped to the head of one of the unlucky Hexers. It is easier to pick the mask up after disabling the turrets.
Objective: Enter the station
Enter the subway station (175,245) now that nothing else is in the way. The surviving House-in-Exile Hexers and House-in-Exile Lurkers fight an Orochi Smiler Mech on the main middle platform. On the side platform to the right is the third and final [House-in-Exile mask] (170,245) for Fallen Allies, still snugly on the skull of its deceased owner.
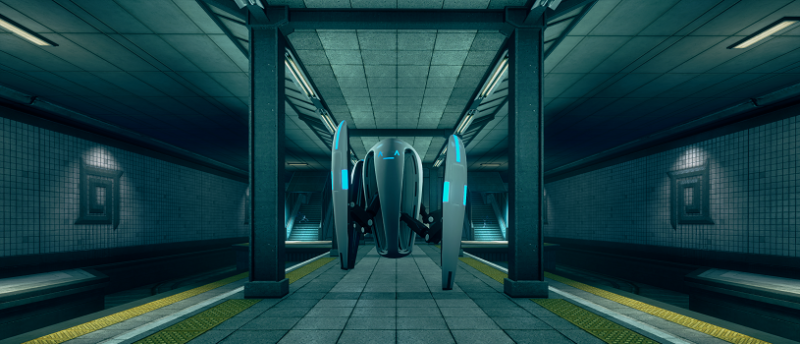
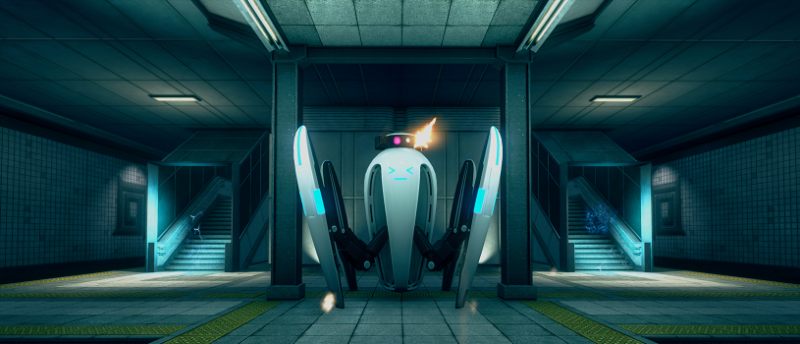
Objective: Defeat the mech
The final line of Orochi defence in the tunnels is active: the Orochi Smiler Mech X-010. The Orochi Smiler Mech X-010 is a Level 50 Orochi Smiler Mech with 34218 HP. It patrols up and down the main middle platform [(185,200)-(185,230)] after killing all remaining oni in the station.
Cross the platform and go to the other tunnel running parallel to the tunnel leading to the station. In front of a massive closed gate cutting off the other line is The Buzzing Legend Entry Reaping the Whirlwind #1 (195,265). Learn this legend entry before leaving The Orochi Underground.
The Orochi Smiler Mech X-010 cannot be ignored forever. Both station exits to Orochi Tower are shrouded by the field of an Electrical Malfunction that will knock any approaching intruder away from the stairs while dealing massive damage.
 The Orochi Smiler Mech X-010 fires bullets from its turret to deal a ranged single-target attack with physical damage that can reach a foe within a 25 metre range and has a 1.5 second cast time and 1 second recast time.
The heavily armed Orochi Smiler Mech X-010 fires its Missile Pod at every given opportunity to a single target within 15 metres. Missile Pod is a 2-second Ranged Frenzy Channelled TAoE with a 0.20 second Channeling Interval that has a 2.0 second cast time and a 17.0 second recast time. Every 0.20 seconds, the target of Missile Pod will have a 360 degree 2-metre radius GTAoE aimed at a random point within 5 metres of where the target was standing, ultimately unleashing a maximum of 10 Missile Pod GTAoEs that each deal physical damage after 1 second.
When within 4 metres an enemy, the Orochi Smiler Mech X-010 can use its Suppression. The mech rapidly spins its turret in a 360 degree 7-metre radius Ranged Frenzy PBAoE that deals physical damage to all foes caught in it. Suppression has a 2 second cast time and 13 second recast time.
Destroy the Orochi Smiler Mech X-010.
Tier 2 Fail
Task Description
Gain entry into Orochi Tower.
Fail Objective: Return to the tunnel
Travel to The Orochi Underground using the Gateway to Orochi Tower (415,350). This goal will only appear if you have left The Orochi Underground prior to completing Assault on Orochi Tower. Return to The Orochi Underground to return to the task at the top of Tier 2.