A Match Made in Rosenbrawl
Posted by on February 21, 2020.
Last updated by on March 2, 2026.
Contributions made by .
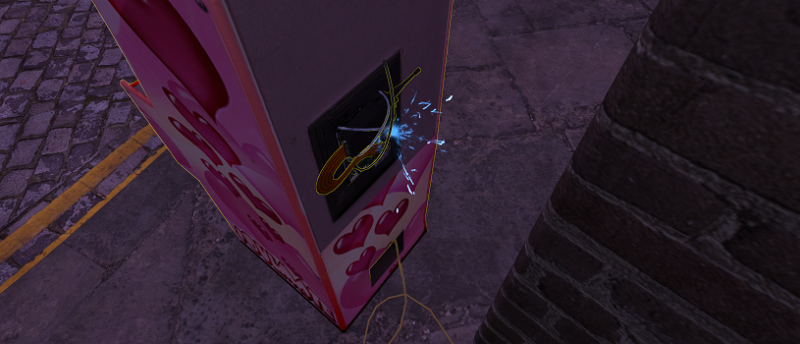
A perhaps inappropriately placed arcade cabinet is dangerously sparking near the arena entrance in The Rosenbrawl. Perhaps there is something to be gained from investigating it.
This mission is available during the Valentine's Day event, provided you have completed The Rosenbrawl first to gain access to and unlock The Rosenbrawl itself.
A Match Made in Rosenbrawl has a scaling boss component containing difficulty options ranging from Story Mode to Elite 17 based on the Level and highest achieved Item Power of the player.
A Match Made in Rosenbrawl has an 18 hour mission cooldown by default and rewards [Romantic Cake] x 4 upon turn-in.
You must be at least Level 15 to begin this mission. The Level 50 Recommended Level is a display error.
For more information on the Rosenbrawl Open Week or Secret World Legends' Valentine's Day event itself and all that it entails, please see our Valentine's Day Event Guide!
Tier 1
Task Description
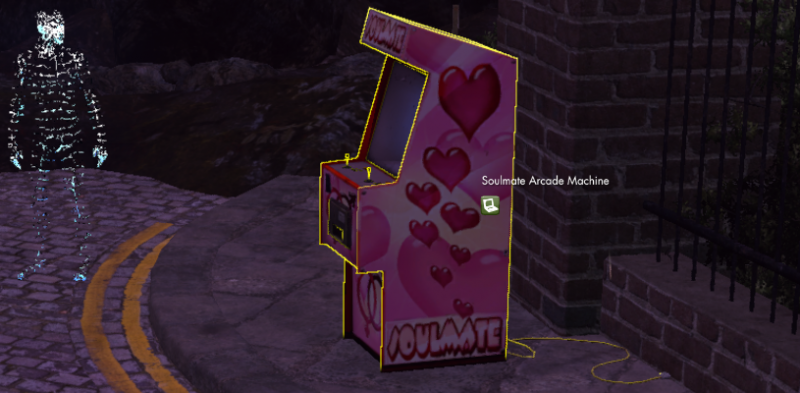
An authentic "SOULMATE" arcade cabinet has been placed in the Rosenbrawl. It seems perhaps a little ill at odds with its location, and where it came from is certainly an interesting question.
Objective: Use the SOULMATE arcade cabinet
Interact with the suspiciously sparking SOULMATE arcade cabinet.
FIFO On-Screen Message
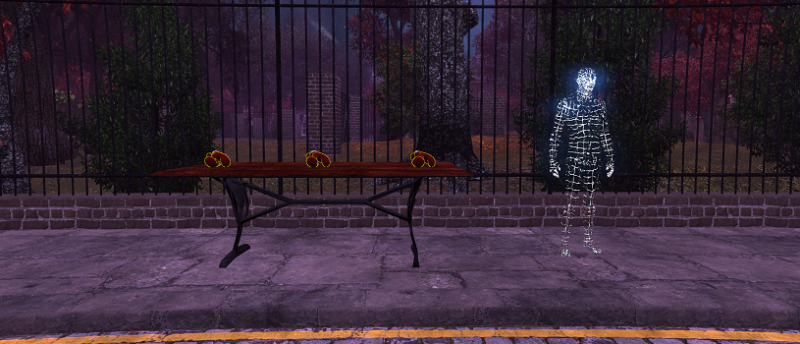
You need to be wearing Gloves to interact with the SOULMATE.
Take either the [Light Gloves], [Heavy Gloves], or [Balanced Gloves] from the table by Mr Rosenbaum's Proxy (150,320). These will allow interaction with the SOULMATE arcade cabinet along with access to the Rosenbrawl arena itself, should it be desired.
Successfully using the [Soulmate] arcade cabinet will begin a search for a romantic interest.
Objective: Wait for the SOULMATE to suggest a romantic match
FIFO On-Screen Message
You have been signed up to search for a romantic interest. The SOULMATE will notify you when it finds an appropriate match.
Wait for a match to be made. The time taken to find a match depends on the number of people available in the matchmaking queue. Don't give up hope - there's love for you yet!
When a match has been made, the following FIFO will apear and will include a name:
FIFO On-Screen Message
The SOULMATE has found a potential match for you:
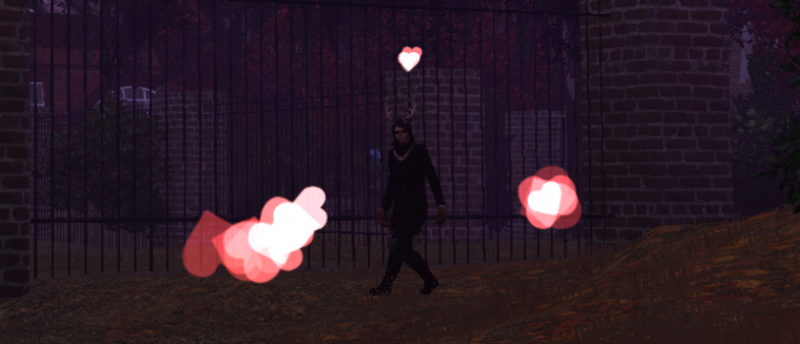
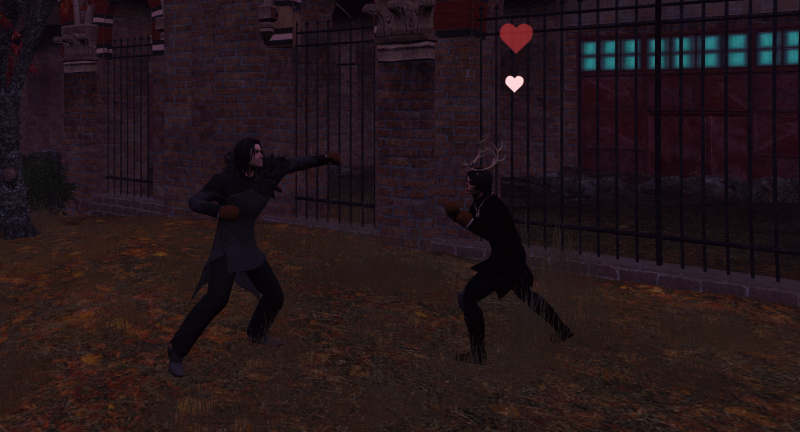
Objective: Locate the suggested match
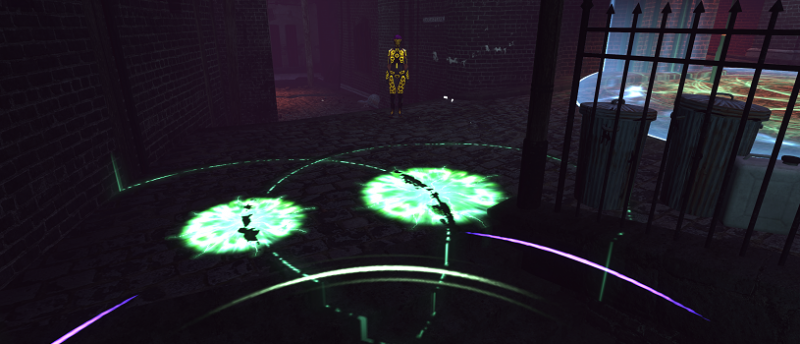
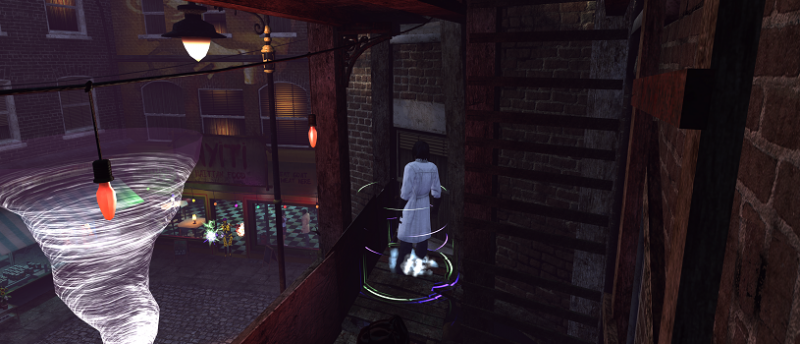
As soon as a potential match has been made by the SOULMATE, a trail of hearts will emerge from you and go in the direction of the match. The person designated as a match also has hearts floating above their head. Both heart visuals are only visible to yourself. A match may not realize that they have been paired as somebody else's match, as it does not necessarily match one person two people to each other.
The pool of matches is comprised of all those within the Rosenbrawl Arena at the time of matchmaking. If a match leaves The Rosenbrawl entirely, the person that was matched to them will be placed back in the queue to find a new match.
A person is matched for a maximum of approximately 10 minutes.
Find the suggested match. Approach them. You have the means to find them.
Tier 1
Task Description
The "SOULMATE" arcade cabinet in the Rosenbrawl seems to be acting as a matchmaking device of sorts, and recommended another Secret Worlder to you as your potential match.
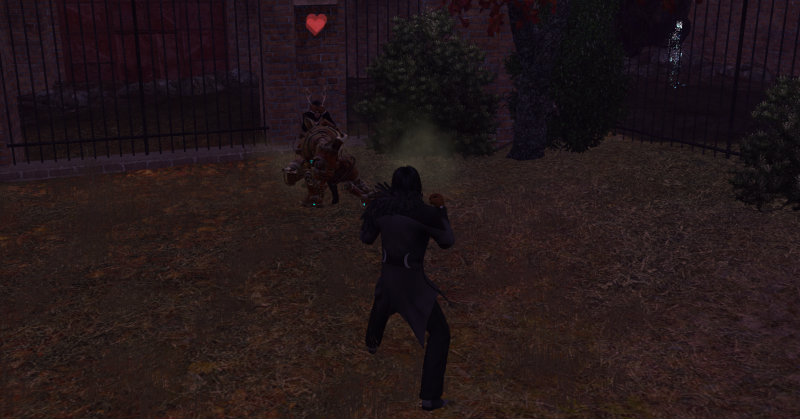
Objective: KILL YOUR MATCH
Unknown Sender
KILL THEM
Upon nearing your match, you receive a strange SMS: the demand that the match be killed. The Rosenbrawl's arena is a PvP area and will cause anyone within it to be flagged for free-for-all PvP.
End the life of your apiarian amour. Don't worry, bee happy! They'll come right back at the Anima Well.
Matched
Killing your match both applies and completes the Special Area Assignment, or 'Bounty' Mission, Matched.
As soon as your match is killed, either through your hand or the hand of another, the SOULMATE will count it as a successful romantic connection.
FIFO On-Screen Message
Target match connection achieved. Congratulations!
Matchmaking
Successful completion of 'Matched' for the first time grants the achievement Matchmaking. As Matched is automatically granted and completed upon defeating a match made by the SOULMATE arcade machine, a first run of A Match Made in Rosenbrawl is likely to contain the first completion of 'Matched' for a player.
Tier 2
Task Description
"KILL THEM" is the message your phone displayed when you neared your potential match. You followed through in the spirit of the Rosenbrawl and defeated your potential match. What twisted game is the SOULMATE playing at? Perhaps there is some information on the SOULMATE itself that you can use to investigate further.
Objective: Investigate the SOULMATE
Romantic matches are not the kind of match that should ever end in murder. The SOULMATE is supposed to find love, not death. Find out what's going on.
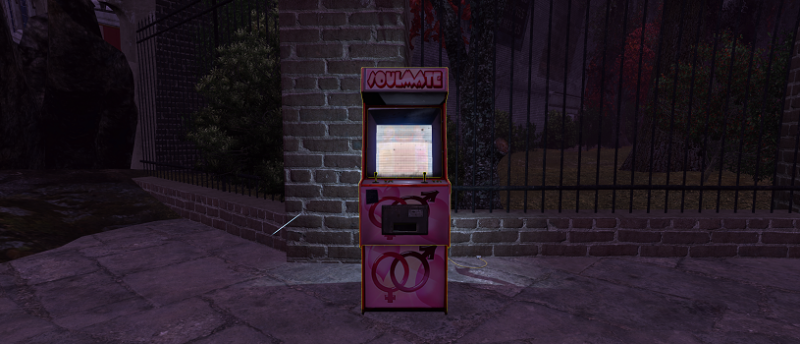
The cabinet continues to spark dangerously.
Look to the back of the cabinet. Exposed circuitry is the source of the sparks. Examine the [Exposed circuit panel]. It can be difficult to interact with the panel.
If you are having difficulty targeting it, ensure that the Interaction UI is enabled and interact when it says "Examine: Exposed circuit panel", NOT when it says to Use: Soulmate or View Mission: Soulmate Arcade Machine.
BUG WARNING: Sometimes, the interactable area for the Exposed Circuit Panel is not where it should be. In those cases, it is accessible by aiming the reticle to the top-left by the tip of a rocky outcrop while behind the SOULMATE, or by aiming the reticle where the machine is plugged mysteriously into the bricks of the fence. Sometimes, it's even a tree.
Objective: Read the SMS
Unknown Sender
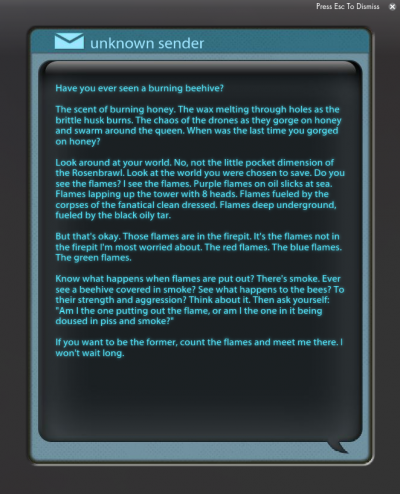
Have you ever seen a burning beehive?
Investigating the SOULMATE causes another text message to appear. This one is far more ominous at a glance.
Read the SMS in its entirety. Closing it will advance the mission to the next objective, which is timed, so only do so when ready.
Tier 2
Task Description
While investigating the SOULMATE for any clues why it was pairing off Secret Worlders for murder instead of romance you received an alarming text message. Someone was watching you, and seemed interested in a face to face meeting.
Objective: Find the sender before they leave the meeting point
Find the sender, and fast! There's only 10 minutes to spare after the SMS is read.
Carefully consider the words of the suspicious SMS you just received.
If you want to be the former, count the flames and meet me there. I won't wait long.
While there are many instances of the word 'flames' in the SMS, some mentions of flames are very specific.
I see the flames. Purple flames on oil slicks at sea. Flames lapping up the tower with 8 heads. Flames fueled by the corpses of the fanatical clean dressed. Flames deep underground, fueled by the black oily tar.
But that's okay. Those flames are in the firepit. It's the flames not in the firepit I'm most worried about. The red flames. The blue flames. The green flames.
There are 7 flames as mentioned by the Unknown Sender. All other instances of 'flames' are general. Meet them at seven.
There are only 10 minutes to find the sender. They could not have gotten far in that time.
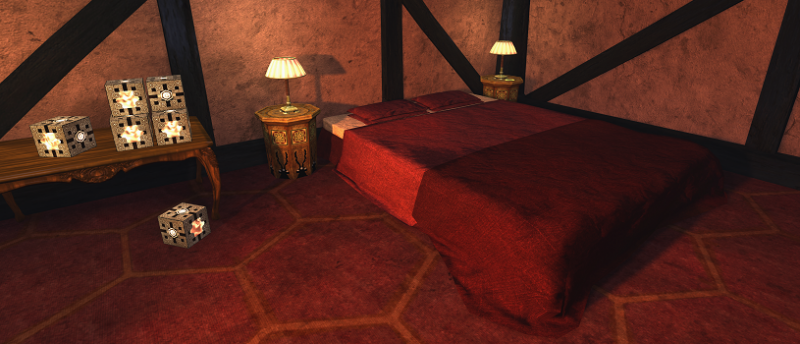
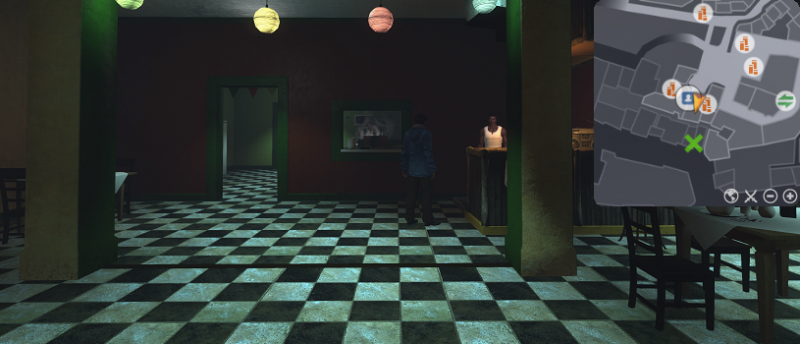
The Tabula Rasa inn, which contains the Rosenbrawl, has numbered rooms. One of these rooms is the Septimus Room, otherwise known as Room 7. The sender could have easily slipped from the Rosenbrawl to another part of Tabula Rasa within the time period. Purchase an [Access Key - Septimus] for 50 Anima Shards from the Concierge and use the dimensional cube in the middle of the room to do as the sender asked, and meet them at Septimus. This room also happens to contain seven small cubes in the room, each lit with a bright light akin to a flame.
On the nightstand by the far wall is a mobile phone in lieu of an actual person.
Tier 2 Fail
Fail Task Description
While investigating the SOULMATE for any clues why it was pairing off Secret Worlders for murder instead of romance you received an alarming text message. Someone was watching you, and seemed interested in a face to face meeting. But it took you far too long to find the aluded [sic] to meeting point, and they have surely left by now.
Fail Objective: Return to the Rosenbrawl
You failed to find the sender before they left the meeting point after 10 minutes. Return to the Rosenbrawl if you are not already there. Returning to the Rosenbrawl will allow you to investigate the SOULMATE again.
This objective will only appear when you fail to find the sender during Tier 2 of A Match Made in Rosenbrawl.
Tier 3
Task Description
The mysterious person was not waiting for you at the rendezvous. Instead there is a cell phone on the side table. When you approached a notification sound played.
Objective: Examine the mobile phone
Inspect the [Mobile phone] on the nightstand.

Tier 3
Task Description
The mysterious person was not waiting for you at the rendezvous. Instead there was a cell phone left for you to find in the room. Another message from the mystery sender implies that whoever it is has been watching you for some time.
Objective: Search for the person who left the message
Find the person behind the messages. They don't believe in love.
BUG WARNING: It is currently possible to complete this objective by simply reapproaching the mobile phone from the previous objective; however, doing so will begin a timer and start the next objective without letting you find the person. This is not intended and it is highly unadvised.
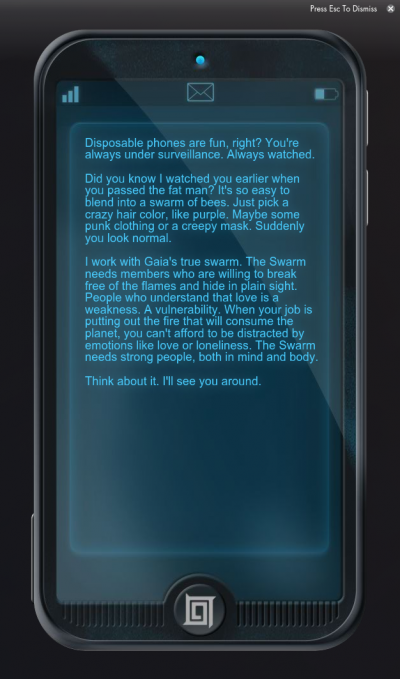
The phone was left there for a reason. Read the contents carefully.
Did you know I watched you earlier when you passed the fat man?
You passed almost certainly passed somebody on the way into the Rosenbrawl to investigate the SOULMATE.
Mr. Rosenbaum himself stands vigil beside the doors to the Tabula Rasa (145,330).
The sender would have had to been around the Tabula Rasa itself in order to watch you pass Mr Rosenbaum.
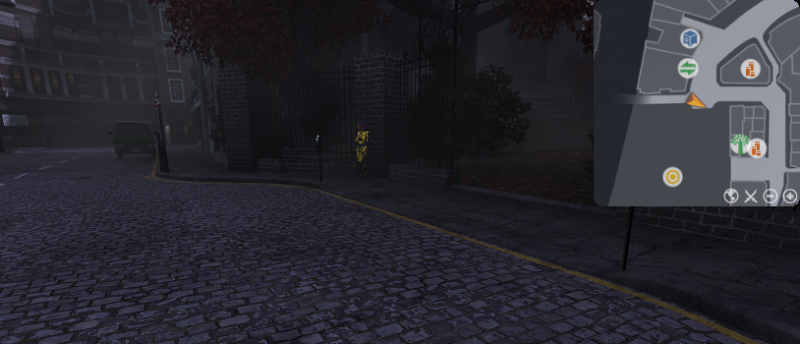
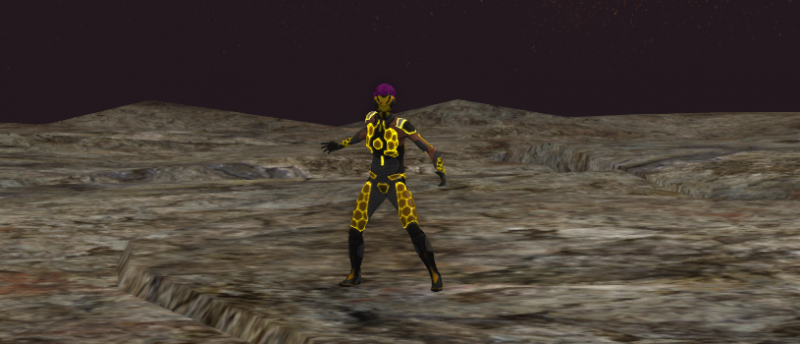
Just outside Tabula Rasa is a woman leaning against the fence leading to Ealdwic Park (175,315), which provides the perfect vantage for watching people come and go from the inn. She matches the description she mockingly gave of bees and has her arms crossed in impatience. Get anywhere within (5,5) from her in any direction.
Tier 3
Task Description
A masked woman waited for you outside Tabula Rasa. When you approached, she fled but not after doing something peculiar to you. Why does everything look just slightly more like the Rosenbrawl?
Objective: Follow the masked woman
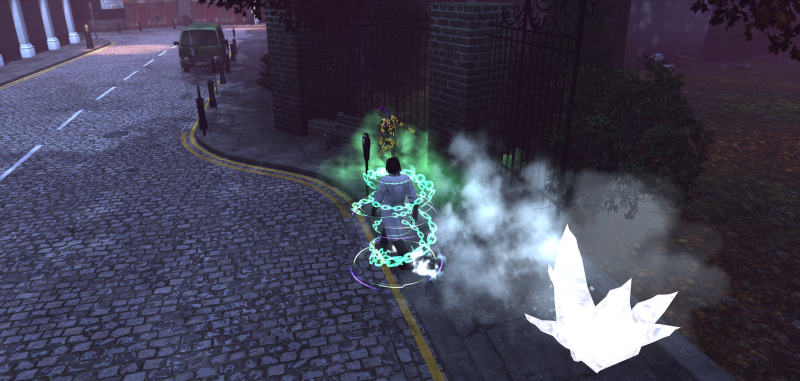
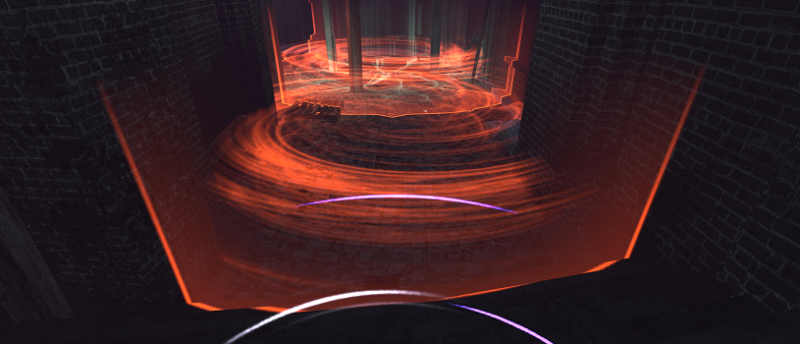
Upon approach, the masked woman ensnares you with Cold of the In Between and runs off either by following the sidewalk or by going through Ealdwic Park. Make haste and go chase! You have 6 minutes to follow her.
Cold of the In Between prevents sprinting, reduces movement speed, and gives the world a purple tinge.
Inescapable
To get the achievement Inescapable, you must follow the Masked Woman to her ultimate destination during Tier 3 of "A Match Made in Rosenbrawl" without being hit by any of her spells. This requires a lot of careful observation to accomplish, as there are multiple types of different spells to look out for and they are encountered all while following the Masked Woman. Avoid all casts of Elemental Winds, Dimensional Rupture, Freezing Manifestation, and Fire Manifestation.
If you fail to avoid a spell during the run, reset the run by failing the timer or going far enough away from the Masked Woman. Once the objective has failed, return to the beginning to make another attempt at Inescapable. This can be done until Tier 4, at which point it is not possible to restart the required objective.
This walkthrough contains an in-depth explanation of the route the Masked Woman takes, as well as suggestions for how to navigate it without being hit by her spells. If you are struggling with a particular portion of the route, look below!
Once she turns the corner and arrives by the Fallen King and Moca Loco, she vanishes.
Objective: Find where the woman vanished to
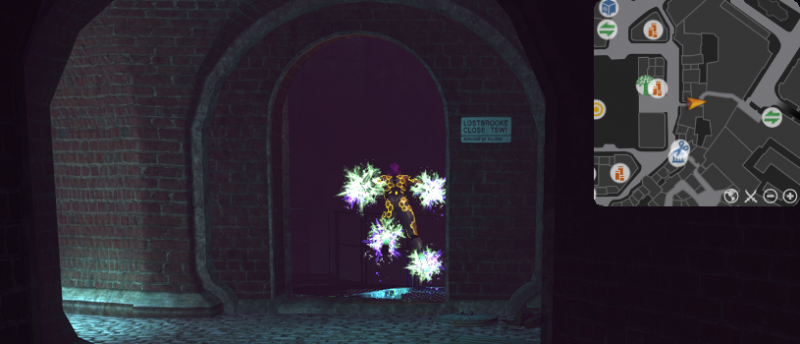
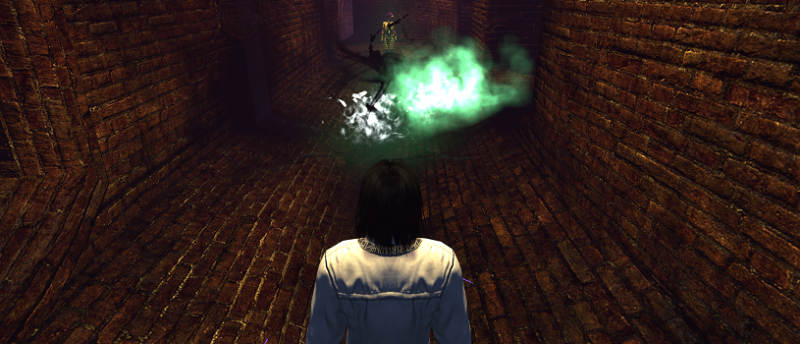
The Masked Woman channels magic in the distance in a tunnel. Go to her.
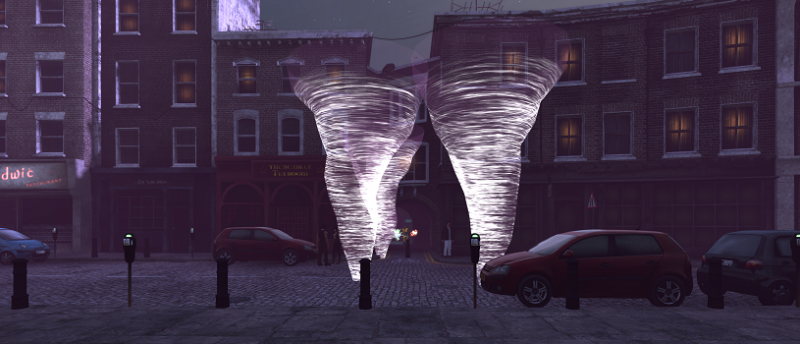
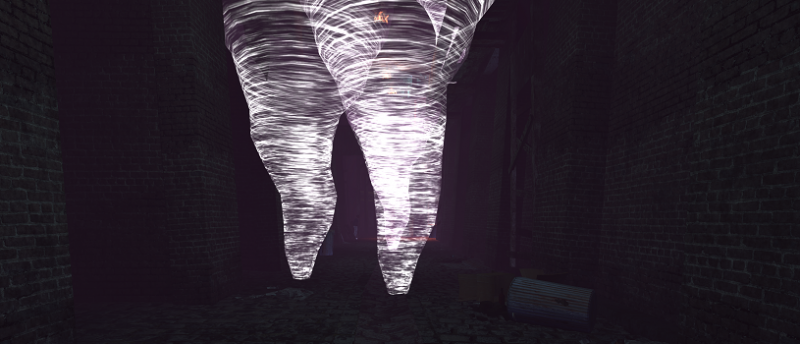
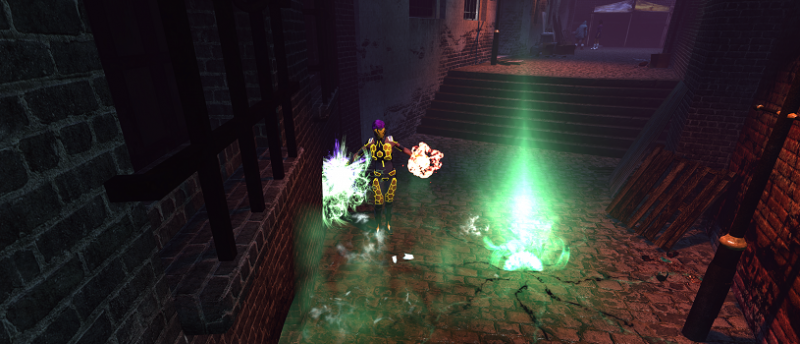
Between you and her are 3 Elemental Tornadoes of her own creation. An Elemental Tornado meanders about the area it occurs in and pulses with 2-meter PBAoE Elemental Winds every 1 second. If hit, a Tornado responds with a large Knock Away that deals 21% of maximum HP while throwing its victim far backwards. Avoid the Elemental Winds.
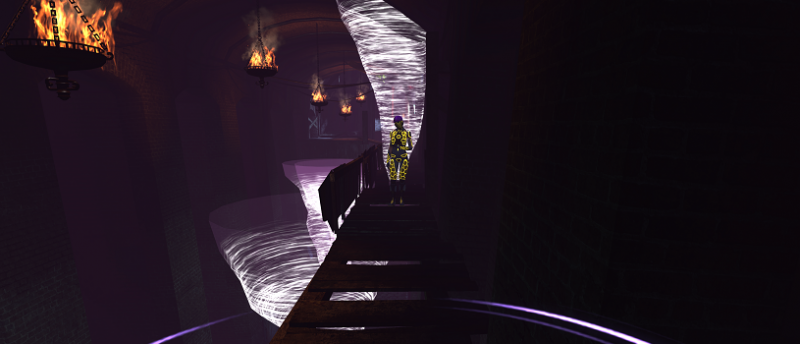
As soon as you enter the tunnel (225,280), the Masked Woman turns around and teleports down the stairwell that leads to the Bazalgette.
Objective: Follow the masked woman
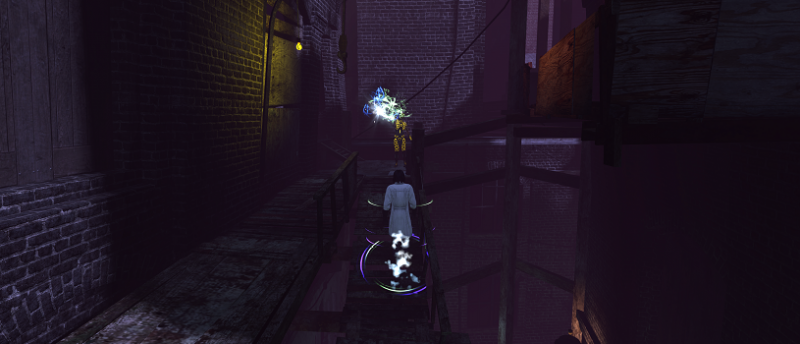
Down the sewers you go!
WARNING: Due to the nature of this objective, this particular section is incredibly picture-heavy.
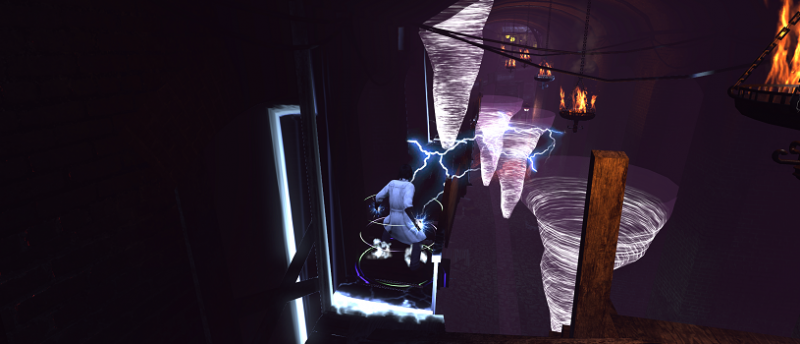
The Masked Woman is just in the threshold into the sewer (245,275). However, a pulsating Dimensional Rupture blocks the way. Wait until it has flared and died down in order to cross by. Being hit by one will take 1/6th HP and apply the Dimensional Rupture debuff for 2 seconds, which reduces movement speed during that time.
The only way to go next is left, where another Dimensional Rupture can be found with the Masked Woman right behind it. Get through it and she will run farther away (250,260).
Cross past the next Dimensional Rupture and take a right through a smaller tunnel. On the other side are four Dimensional Rupture that appear in two sets of set of two diagonal Ruptures. Get to the other side by moving as soon as one set is clear. Timing is everything.

This new tunnel contains a Rupture at the bend. Walk through while avoiding the Dimensional Rupture. Another Rupture is just up the steps, but can easily be avoided. Beyond it one final Rupture and Masked Woman before the sewer opens.
She waves to you as you near her, taunting you to come closer to where she stands (245,225).
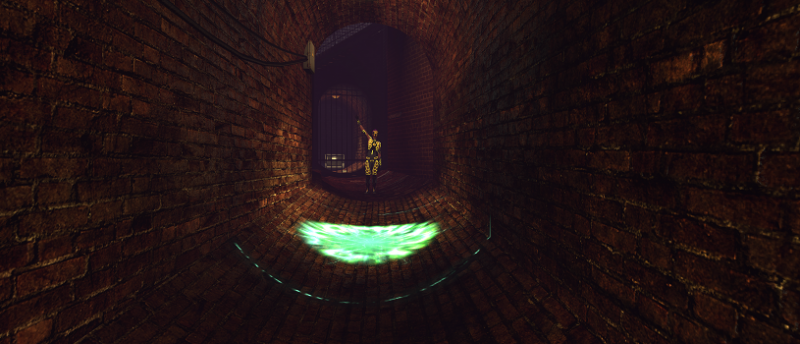
Welcome to Darkside. Up the stairs from the Bazalgette is the area known as The Shades. More of the Masked Woman's magic prevents the way. This time, a large Freezing Manifestation AoE takes up a large part of the path. Stepping into it hurts and grants Freezing Manifestation for 2 seconds, reducing movement speed.
The Freezing Manifestation lasts for 10 seconds, but will return after 5 seconds.
Either wait for the Manifestation to go away and then go across it while it's clear, or go down the Shades if you don't want to wait. While there are no Freezing Manifestations in the Shades, there instead are Dimensional Ruptures dotting the entire path. Tread carefully.
On the other side is the Masked Woman (235,205). Once she moves, be wary of a Dimensional Rupture that spawns where she once stood.
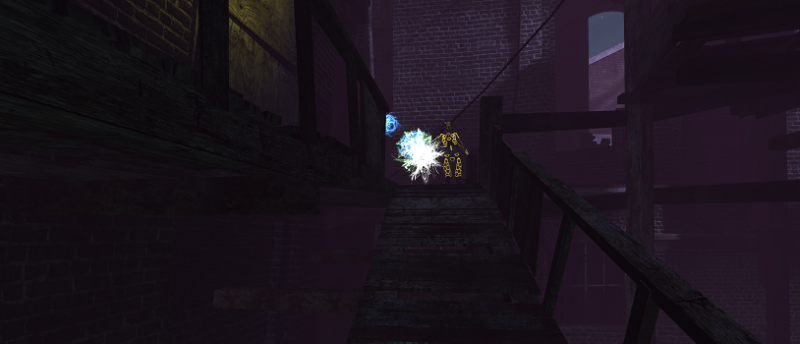
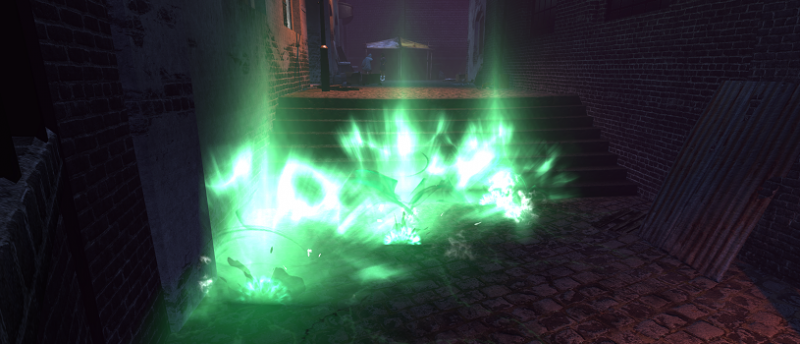
Leading into Ratcage Lane are two Fire Manifestations. These Manifestions also last for 10 seconds, but there is a 5 second interval before they return. Standing in a Fire Manifestation is a bad idea, as a single hit deals 1/4th HP. Wait for the Fire Manifestations to disperse before going through.
Past the duo of Fire Manifestations is a ramp (215,205). Go up it while avoiding the Dimensional Ruptures that litter it. The Masked Woman is at the very top (225,215) and gives a magical wave to you before teleporting away.
Continue on the catwalk. The Masked Woman is right under the makeshift roof (210,195), but a series of Dimensional Ruptures separate you from her. Cross carefully. If you feel you need a moment to breathe, the two bridges don't have any ruptures on them and can serve as safe spots.
Tornado Alley lies beyond.
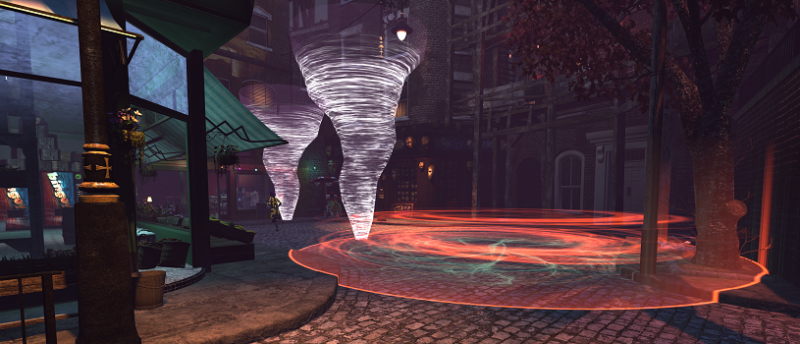
One Elemental Tornado patrols the catwalk where the Masked Woman stands (205,170), while three Tornadoes wander the alley below. There are two possible ways to proceed, but first, approach the Masked Woman so that she teleports off.
Route A:
Hop down the catwalk either by jumping or taking the nearby ramp down and into the alley below so that you are either between Elemental Tornado or are in front of them, depending on where they are at the time. If between Tornadoes, go into one of the three the open entrances to the Arena and then weave back in by the Crusades (205,155). Once back in the alley, a Fire Manifestation followed by a Freezing Manifestion blocks the way. Wait for them, using the spaces between their visuals to know where to stand, and get through when able.
Route B:
Continue on the catwalk and use a teleport or dodge to cross over the Elemental Tornadoes in the way. This can be tricky, as the geometry in the area is not well-suited for it and teleport abilities, gadgets, and even active dodges can all fail to activate depending on where you are and what you're facing while on the bridge. If successful in getting through the Elemental Tornado, go down the ramp while avoiding Dimensional Ruptures until it lets off by the entrance to the Crusades (190,140).
The Masked Woman is behind two Dimensional Ruptures (185,140) at the end of the alley as it begins to open up into the Haitian Market.
As soon as she runs off, Dimensional Ruptures begin to appear in a diagonal line across the street. Four total sets are between you and the Haitian Market. Get through them carefully by biding your time wisely and following their staggered appearance upward.
This brings you to the Haitian Market. A Freezing Manifestation is in the way. It can easily be walked around or waited for in order to reach the Masked Woman on the other side (155,165).
The Masked Woman makes a run through Pagan Hill and into Ayiti. A Fire Manifestation and two Elemental Tornadoes block the path. As soon as you go into the middle of Pagan Hill, Dimensional Ruptures appear and a Freezing Manifestation in front of the restaurant becomes apparent.
Again, multiple options are presented. You can carefully tread through the obstacles by keeping close to Annapurna and wait until the coast is clear, although this requires watching out for every spell on Pagan Hill.

Alternatively, instead of following the Masked Woman directly at this point, go right and head up the stairs that lead out of Darkside and turn left to go to the balcony above the market. A makeshift ramp is available (140,170) to cross and ends just above the House of Chalk. From above, only the Tornadoes are visible. Jump down near Mama Abena from there and avoid the rest of the obstacles as best you can. One Elemental Tornado will circle a Freezing Manifestation blocking the door, while Dimensional Ruptures can be found between you and the Manifestation. Wait for the Freezing Manifestation to disappear while the Elemental Tornado is far away and not inbound and then run right through the door to Ayiti (140,150).
Get inside farther into the Ayiti Haitian Food restaurant (140,145).
Tier 3 Fail
Fail Task Description
A masked woman waited for you outside Tabula Rasa, when she ran off you lost sight of her. Perhaps she can be found near Tabula Rasa again.
Fail Objective: Return to where you first saw the masked woman
You were unsuccessful in keeping up with the Masked Woman and you did not manage to follow her to her destination within 6 minutes. Return to Ealdwic Park and approach the Masked Woman again (175,315) to re-initiate the chase.
This objective will only appear when you fail to follow the masked woman.
Tier 4
Task Description
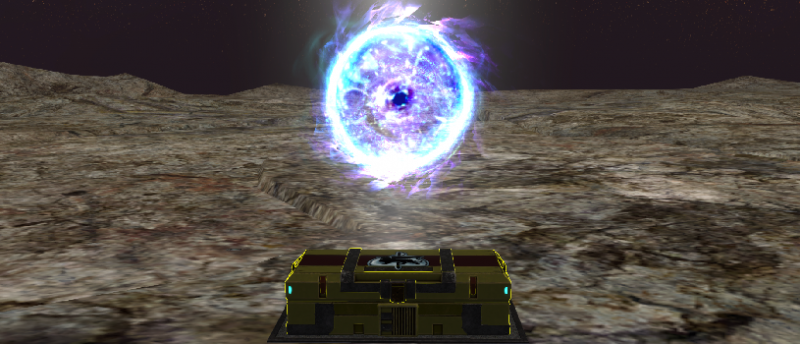
The masked woman you followed through London fled to a Haitian Cafe. She ran into the back room and vanished into a portal. The portal remains open...
Objective: Enter the portal
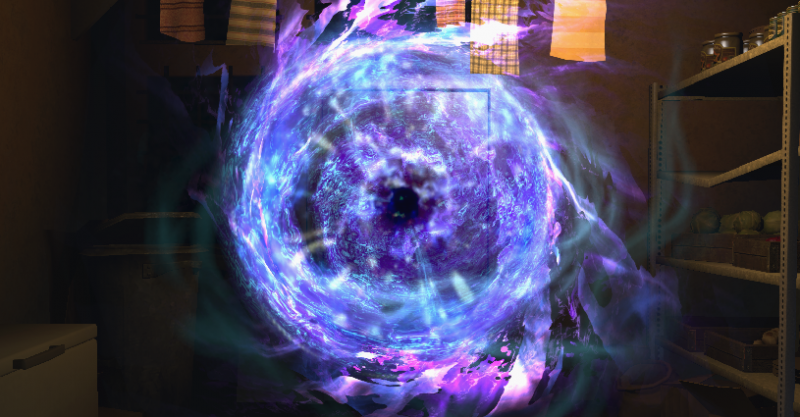
In the store room of the restaurant sits an open portal (140,125). The Masked Woman is nowhere to be seen. The portal awaits.
Approach the portal. This will cause a difficulty selection prompt to appear in lieu of the typical zoning prompt. Select the difficulty desired and enemy within shall be scaled accordingly. Doing so will take you to A Fragment In Between.
For those under level 50, the only difficulty available is Story Mode. For those at level 50, there are Elite difficulties available depending on the highest Item Power value achieved by your character.
A Chilly Night Together
The achievement A Chilly Night Together can only be completed by on the highest difficulty available to you while by yourself. You cannot get this achievement while in A Fragment In Between with a friend. The Masked Woman must be defeated alone. This can be completed during the missions "A Match Made in Rosenbrawl" and "A Friendly Competition".
Tier 4
Task Description
The portal lead [sic] you to... somewhere else. The masked woman waits for you.
Objective: Explore
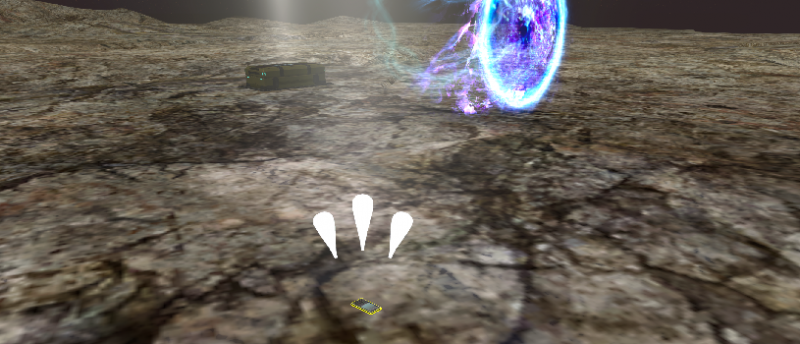
Explore A Fragment In Between. This interdimensional space is a sight to behold. Beyond the portal is an Anima Well, rock, and space. Below the very rock beneath your feet is another, larger rock. Hop down the ominous floating rock island below!
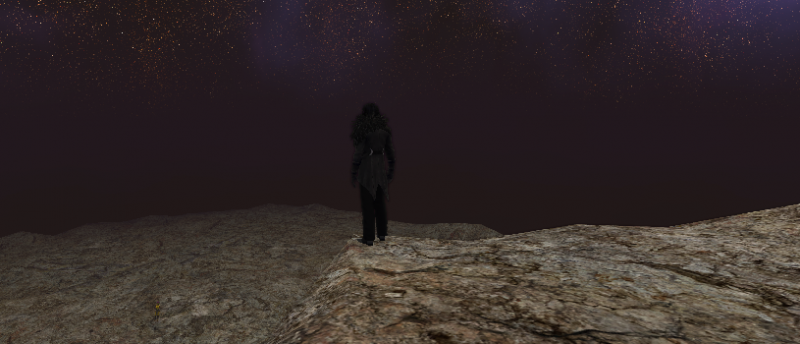
Objective: Confront the masked woman
Approach the Masked Woman. She stands alone in the middle of the larger floating island.

Objective: Defeat the masked woman
Confrontation is not without revelation. The Masked Woman yearns to fight! Bring her down to 10-15% HP!
Speed Dating
To obtain the achievement Speed Dating, the Masked Woman must be defeated by a full group of Five (5) players in the same instance of A Fragment In Between on any difficulty.
The Masked Woman
This is a scaling encounter that can be completed with 1-5 players and has multiple phases.
Immune to CC
The Masked Woman is permanently immune to Stuns, Knock Downs, Obstruction, Roots, and Snares.
Burning
Fire-based elementalism abilities cast by The Masked Woman such as Fire Manifestation and Firestar cause those hit by them to become afflicted with Burning, a damage over time debuff that lasts for 10 seconds per stack up to a maximum of 10 stacks. When Burning, you are visibly on fire.
Abilities that can result in Burning remove stacks of Freezing upon successful hits when Freezing is present on a target, up until the point that either: the target is no longer Freezing, the ability ends, or the target is no longer hit by said ability.
Conversely, Freezing will remove Burning.
Freezing
The cold void of space is a perfect place for ice to form. Starting on Elite 4 Difficulty, Freezing Manifestation, Destabilizing Reality's Dimensional Ruptures, Fold Spacetime and its Dimensional Ruptures, and Shatter Singularity can all make you Freezing. The number of stacks applied depends on both the ability and difficulty level of the encounter. Freezing has no duration.
Upon reaching 10 stacks of Freezing, you are covered with ice and frozen solid on the spot. There is no escape. It is instant death. Avoid reaching 10 stacks at all costs.
Freezing is removed incrementally when Burning abilities hit. Burning, in turn, is removed when Freezing abilities hit or otherwise result in Freezing.
Phase 1
The Masked Woman begins the fight with three abilities: Fire Manifestation, Freezing Manifestation, and Firestar.
Fire Manifestation
In her fury to fight, the Masked Woman frequently summons a Fire Manifestation, a fiery GTAoE that persists for 10 seconds. Standing in the Fire Manifestation will deal damage while afflicting you with a stack of Burning for every second you stand in the flames. Burning lasts 10 seconds and deals damage over time dependent on the number of stacks, stacking up to a maximum of 10.
Entering a Fire Manifestation removes a number (decreasing as difficulty level increases) of pre-existing stacks of Freezing until no stacks are left, at which point you are Burning. As Freezing is not active below Elite 4, Fire Manifestation will immediately resort to Burning when below Elite 4 Difficulty.
Casts of Fire Manifestation alternate with casts of Freezing Manifestation.
Freezing Manifestation
Space is a frigid place. The Masked Woman calls upon a Freezing Manifestation, a GTAoE, that like the other Manifestation at her beck and call, lasts 10 seconds. Stepping in a Freezing Manifestation will hurt and cause you to be Snared for 5 seconds, which reduces movement speed by 70% while active.
Beginning on Elite 4 and persisting for every Difficulty Level thereafter, being caught in a Freezing Manifestation will make any within Freezing after a few seconds and remove present stacks of Burning.
Firestar
The Masked Woman burns bright like a star - she's a Firestar! Firestar is a four-point single-hit column attack taking the form of a cross when cast. Being hit by the initial strike of Firestar will not only damage, but will also apply Burning.
Phase Change
When brought to or below 60% HP, the Masked Woman undergoes a phase transition that consists of one singular ability: Shatter Singularity.
Shatter Singularity
The Masked Woman seeks to Shatter Singularity when her health has been brought down low enough. The massive black hole PBAoE that is Shatter Singularity takes up an enormous portion of the platform and takes 8 seconds to cast. Run out to the edge and avoid being hit by the Shatter, as it deals devastating damage that increases the higher the difficulty level the fight. On Elite 4 and aboove, it grants 5 stacks of Freezing to any who are hit by it and didn't die. Don't get Shattered.
Escaping the Shatter Singularity results in gaining 2 stacks of Freezing on difficulties where Freezing is present.
Phase 2
Once Shatter Singularity has ended, the second phase begins. Fold Spacetime and Destabilizing Reality are now in her repertoire. Fire Manifestion and Freezing Manifestation are cast in this phase as well. She does not cast Firestar when in this phase.
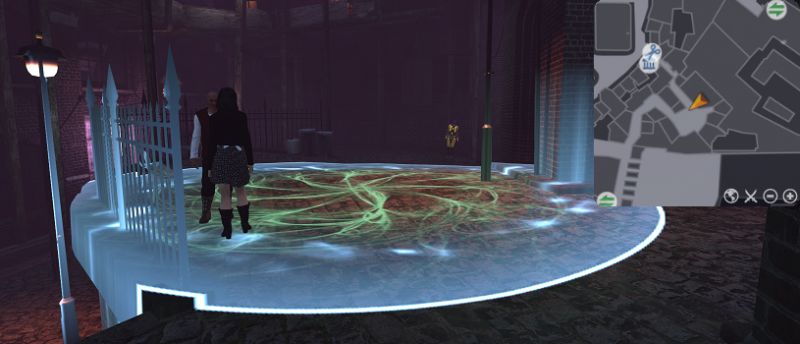
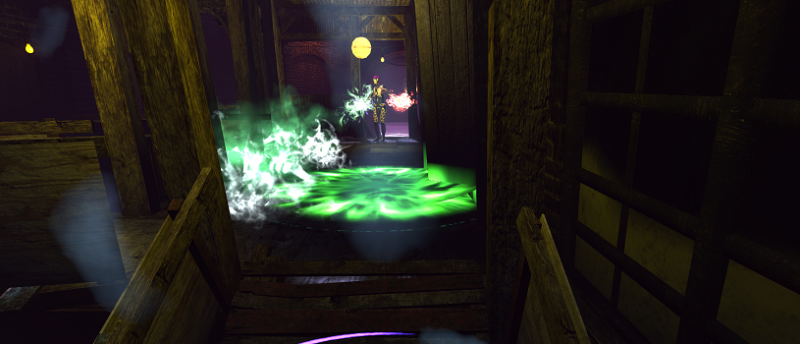
Fold Spacetime
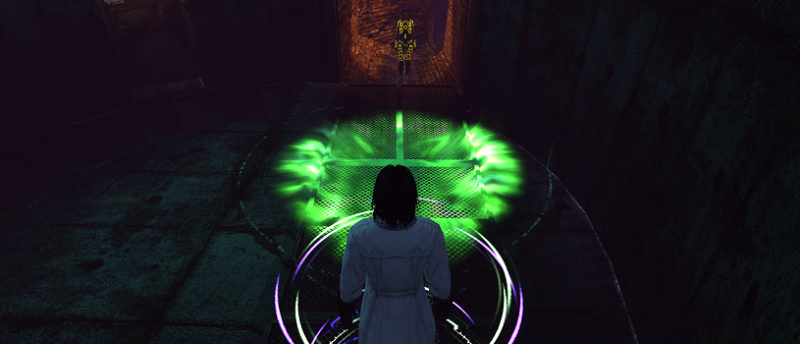
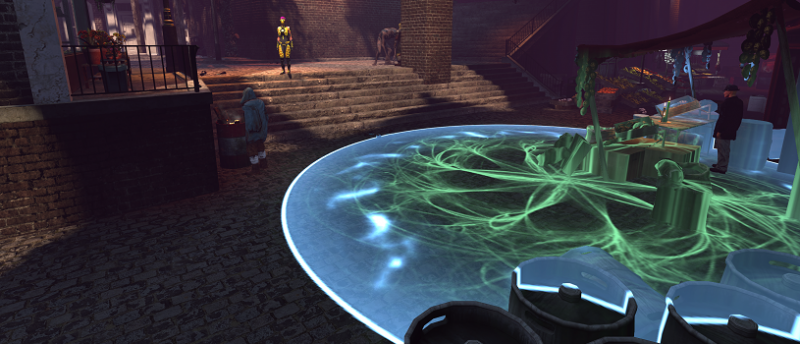
Using her mastery of dimensional magics, the Masked Woman periodically casts Fold Spacetime. When she does, she faces her target and disappears for a few seconds. She will teleport to a selected person, who will have a swirling chaotic green and blue visual on their feet. Once she teleports to where her target stands, the Masked Woman casts the PBAoE Fold Spacetime for 8 seconds. Fold Spacetime deals damage to anyone within it. All the while, the Masked Woman has a shield preventing any damage for the duration of Fold Spacetime.
On Story Mode and Elites 1-5, this ability consists solely of the innermost PBAoE around the Masked Woman. At Elite 6 Difficulty, Fold Spacetime gains 1 ring of Dimensional Ruptures around it that apply the slowing debuff Snared when stood in. This becomes a total of 3 rings at Elite 12 difficulty and onward.
Fold Spacetime and its Dimensional Ruptures apply stacks of Freezing on Elite 4+.
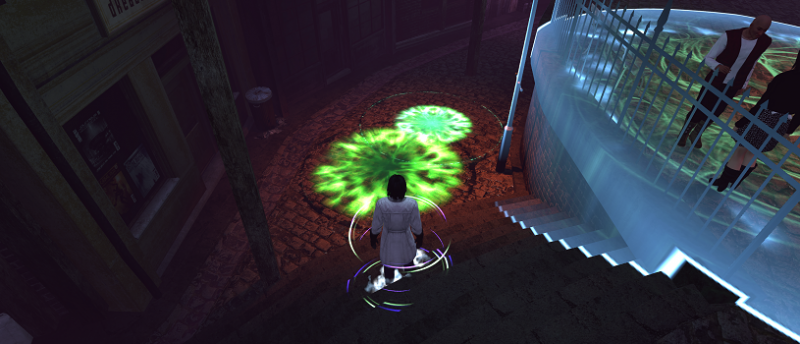
Destabilizing Reality
The Masked Woman frequently calls upon Destabilizing Reality, which causes a series of Dimensional Ruptures to appear as damaging GTAoEs for 5 seconds. The Ruptures can either follow their target, spread outward or inward as a converging cross, or spin out from their target as a spiral. It is random which form Destabilizing Reality's Dimensional Ruptures will take, but as with all Dimensional Ruptures, they should be avoided due their minor damage and their to their ability to give the Snared movement speed reduction and a stack of Freezing on difficulties on and above Elite 4.
Destabilizing Reality can be interrupted in Story Mode and Elites 1-5. On Elite 6+, this ability cannot be interrupted.
Enrage
As of 2021, The Masked Woman encounter has no Enrage timer. In 2020, The Masked Woman encounter had a 10 minute Enrage timer.
Objective: Pick up the phone
A mobile phone has been stranded in the very spot the Masked Woman teleported away from. It rings incessantly. Pick it up. Take the [Dropped phone].
The phone can also be found close to the portal, resulting in two versions of the phone in a A Fragment In Between while on this mission.
Tier 4 Fail
Fail Task Description
The masked woman you followed through London fled to a Haitian Cafe. She ran into the back room and vanished into a portal. The portal remains open...
Fail Objective: Enter the portal
Return to Ayiti in London and enter the Portal (140,125) to travel to A Fragment In Between.
This objective will only appear when you have left A Fragment In Between without picking up the phone dropped by the defeated Masked Woman.
Tier 4
Task Description
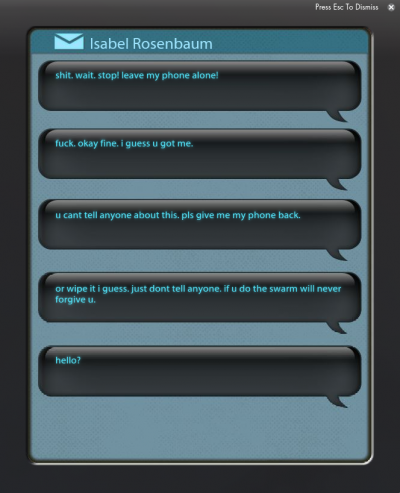
The masked woman led you to a pocket dimension hidden in the spaces between realities. You bested her in combat and when she fled she dropped her phone. A hastily written text message confirmed that the masked woman was none other than Isabel Rosenbaum, daughter of the man behind the Rosenbrawl.
Objective: Read the SMS
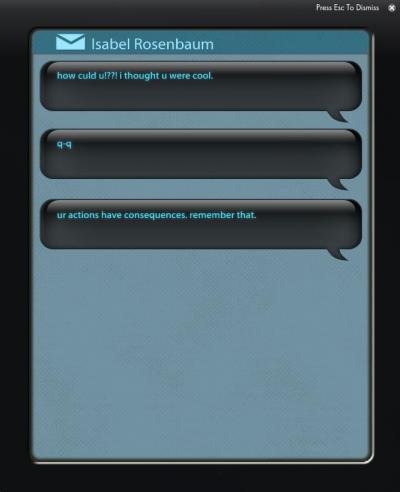
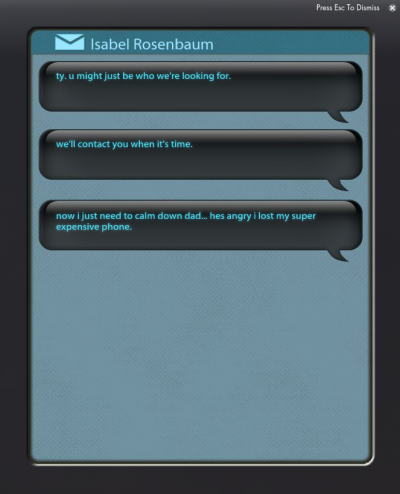
Isabel Rosenbaum
shit. wait. stop! leave my phone alone!
There are several SMS already on the phone. Read them.
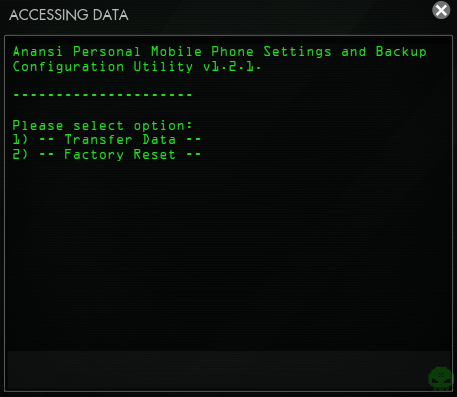
Objective: Use Isabel's phone and forward her e-mails to your faction HQ, or wipe all data from her phone
Use [Isabel's phone] from your Mission Inventory and Select 3) -- Settings -- on it. This will bring up the phone settings and allow two options: 1) -- Transfer Data -- and 2) -- Factory Reset --. The choice is yours.
Equal Opportunity Bee
Show that you're an Equal Opportunity Bee by earning this achievement for choosing both options! A Match Made in Rosenbrawl must be completed a minimum of two times for this achievement, provided you choose to delete the data one time and forward it another. Earning Equal Opportunity Bee grants the coveted Swarm Mask - the very mask the Masked Woman wears! Will you make the right choices, sweetling?
The Call of Honey
Doing this mission, regardless of choice at the end, is The Call of Honey. All sweetlings feel the call.
Transfer Data (Faction)
Factory Reset (Deletion)
Reward Chest
By the portal out is a [Reward Chest], which can potentially contain Romantic Cake, an Extraordinary Talisman, an Extraordinary Weapon, a Weapon or Talisman Empowerment Catalyst, a Talisman Distillate, and a Weapon Distillate. The CCs of Distillate XP varies depending on the Elite difficulty chosen, as does the presence of empowerment catalysts, the possible extraordinary talismans and weapons, and the quality of the possible talismans and weapons. No matter what, there is always [Romantic Cake]. Reap your rewards.
This particular Reward Chest can be opened for maximum rewards once per 8 hour period and will place you on a loot lockout cooldown when opened. Opening any subsequent Reward Chests from A Friendly Competition or A Match Made in Rosenbrawl during the cooldown period will contain reduced rewards, but rewards nonetheless. Therefore there are Major and Minor reward sets based on presence of loot cooldown or lack thereof.
Major Potential Rewards [Off Cooldown]
- [Romantic Cake] x 2 – Place out a romantic cake that you and up to 9 other Secret Worlders may interact with to savor and gain Sweetheart for 20 minutes:
- Sweetheart:
- 3% Critical Chance
- 10% Critical Damage
- 500 Maximum Health
- Sweetheart:
- [Extraordinary Talisman] – An extraordinary talisman of one of the following slots:
- Luck Talisman
- Waist Talisman
- Occult Talisman
- Wrist Talisman
- Neck Talisman
- Finger Talisman
- Head Talisman
- [Extraordinary Weapon] – Open this bag to receive One of the following Weapons:
- From Story Mode to Elite 4 Difficulty Reward Chests:
- Auxiliary Loader (Assault Rifle)
- Otherworldly Artifact (Chaos Focus)
- Unstable Electron Core (Elementalism Focus)
- Fuming Despoiler (Hammer)
- Six Shooters (Pistols)
- SPES-C221 (Shotgun)
- Eldritch Tome (Blood Magic Focus)
- Soulblade (Blade)
- Bladed Gauntlets (Fist Weapon)
- From Elite 5 Difficulty and Above Reward Chests:
- AEL-550 (Assault Rifle)
- Irregularity Architect (Chaos Focus)
- Frozen Figurine (Elementalism Focus)
- Hell-Forged War Hammer (Hammer)
- Sov-Tech Harmonisers (Pistols)
- The Redeemer (Shotgun)
- Grimoire of Foul Gods (Blood Magic Focus)
- Shattered Hellblade (Blade)
- Blood Drinkers (Fist Weapon)
- From Story Mode to Elite 4 Difficulty Reward Chests:
- Elite 10 Difficulty and Above: [Weapon or Talisman Empowerment Catalyst] – A chance for a weapon or talisman catalyst to be used in empowerment.
- [Weapon Distillate] – One Weapon Distillate item.
- [Talisman Distillate] – One Talisman Distillate item.
Minor Potential Rewards [On Cooldown]
- [Romantic Cake] – Place out a romantic cake that you and up to 9 other Secret Worlders may interact with to savor and gain Sweetheart for 20 minutes:
- Sweetheart:
- 3% Critical Chance
- 10% Critical Damage
- 500 Maximum Health
- Sweetheart:
- [Extraordinary Talisman] – An extraordinary talisman of one of the following slots:
- Luck Talisman
- Waist Talisman
- Occult Talisman
- Wrist Talisman
- Neck Talisman
- Finger Talisman
- Head Talisman
- [Talisman Distillate] – One Talisman Distillate item.
- [Weapon Distillate] – One Weapon Distillate item.
The Reward Chest's contents will never provide loot intended for difficulties higher than your highest achieved difficulty. It will never give above your maximum difficulty. If opened on a lower difficulty than your highest, it will reward loot appropriately for the difficulty, even if this means scaling down.